Fallout 4 Simple Fetch Quest Tutorial Chapter 5: Creating a Test Room via Copying
| Fallout 4 Simple Fetch Quest Tutorial Chapter 5: Creating a Test Room via Copying | |
|---|---|
| Fallout4 Scripting Quest Tutorial Series, Chapter 3: Creating a Test Room via Copying | |
| Return to Tutorial Hub | |
| Next Tutorial | |
Note: This tutorial uses an Action-Reaction System.
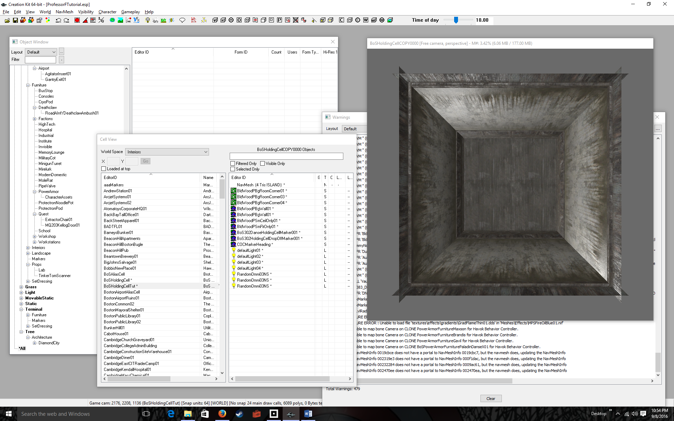
Start up the GECK by running the Bethesda.Net Launcher and Open up your Mod (as in Tutorial 3)[edit | edit source]
What we’re going to do is create a new NPC from scratch
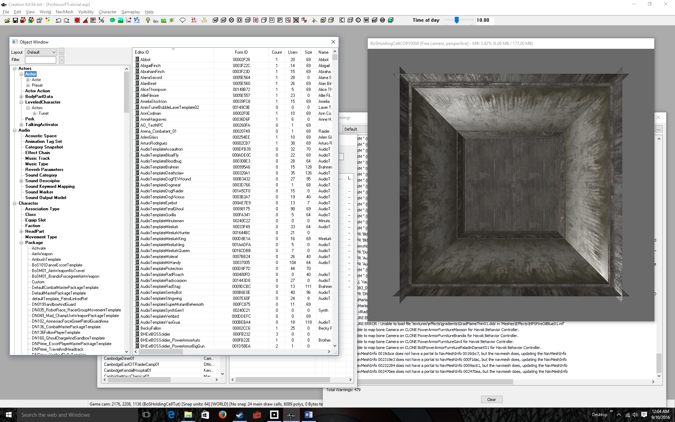
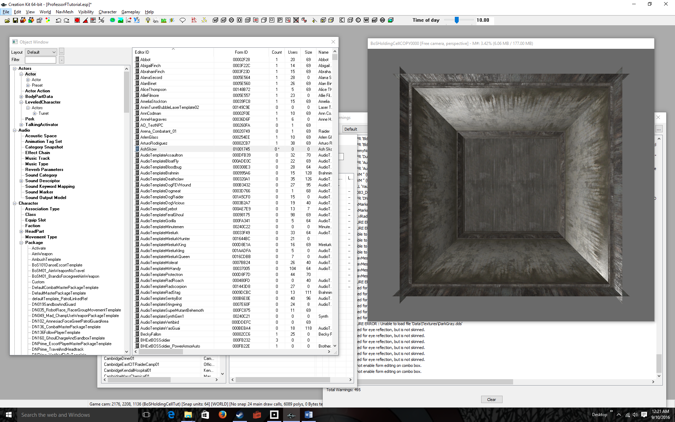
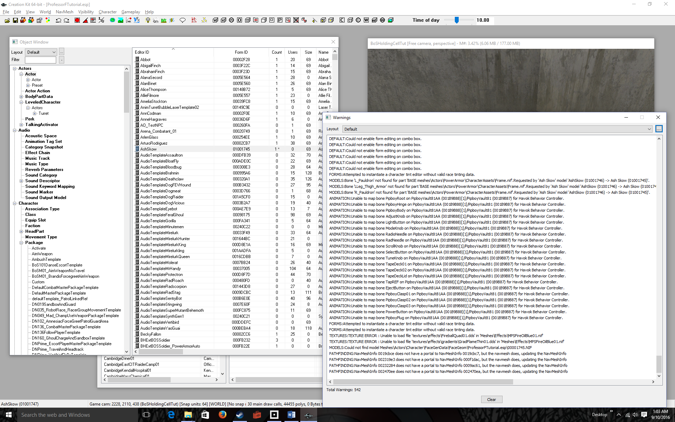
Click on the Object Window[edit | edit source]
This window contains “prototypes” of all the possible objects in the World
Expand Actors then Click on Actor in the left list[edit | edit source]
The right list fills up with all the actors in the world
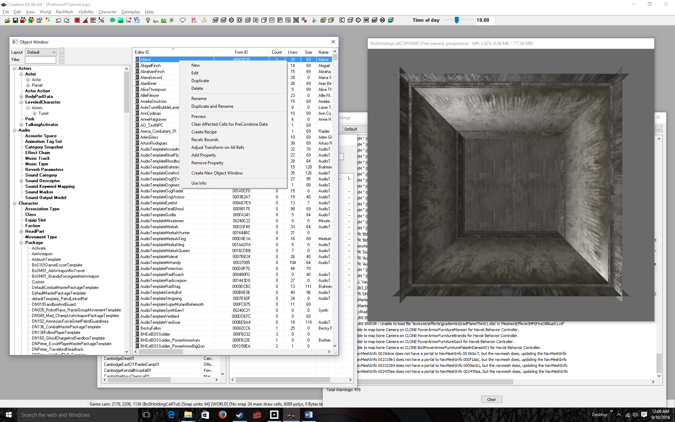
Right-click over any name in the right list.[edit | edit source]
This pop-up menu lets you either duplicate an existing NPC (like Cait) or create an entirely new NPC. If you do choose to duplicate an NPC, immediately change it’s name by clicking twice on the name.
We’ll create a totally new character.
[edit | edit source]
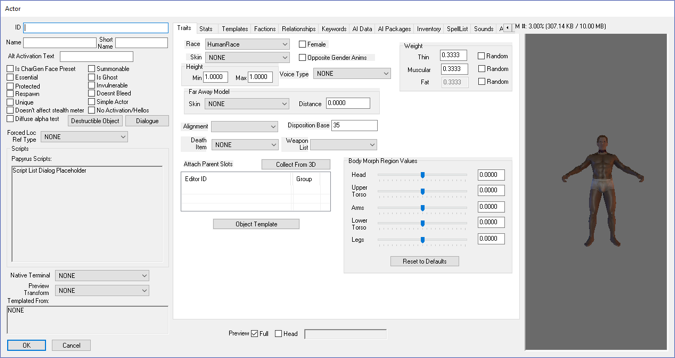
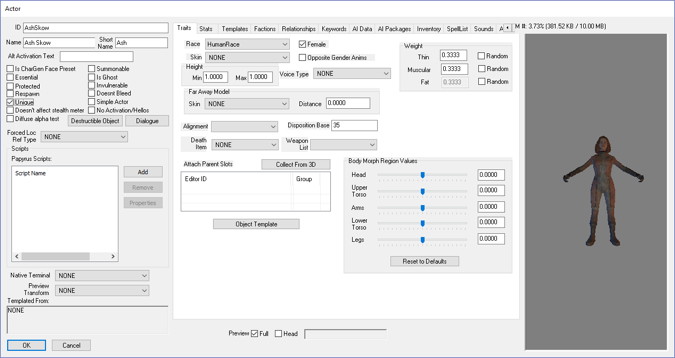
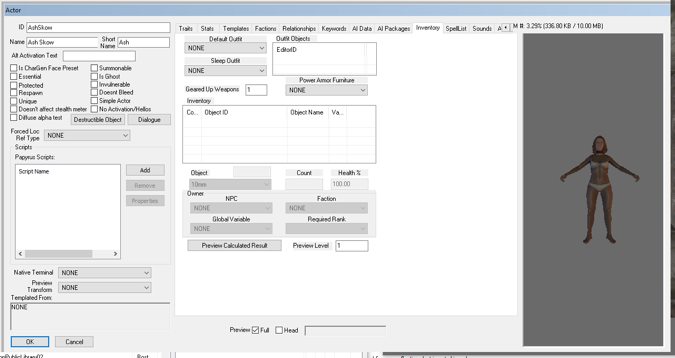
This will pop up the Actor window, which allows you to customize a new NPC
Pick a first & last name (like Ash Skow)[edit | edit source]
Enter the name w/out spaces into ID
Enter the name with spaces into Name
Enter just first name into Short Name
Check the Unique checkbox
I used Ash Skow as the full name and simply Ash for the short name.
(Note: Your character may look different from mine)
Click the OK button[edit | edit source]
Your new NPC appears alphabetically in the Object Window’s right list.
Double-click on the name[edit | edit source]
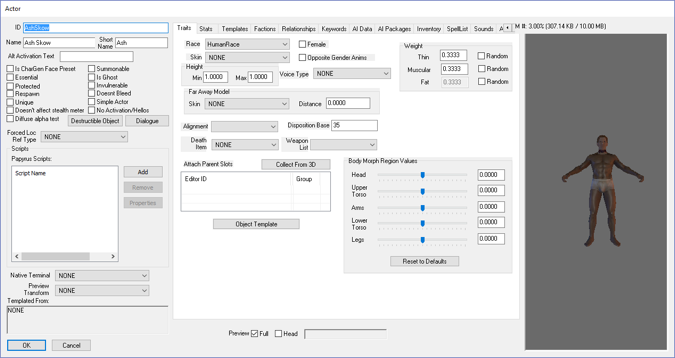
This brings up the Actor window again. This time we’ll change the look of the character.
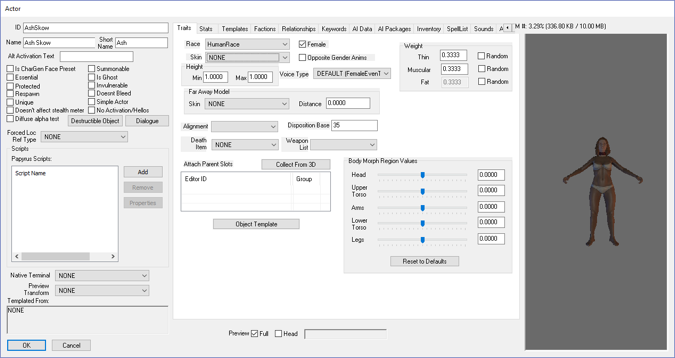
Check the Female checkbox[edit | edit source]
This changes the character into a female.
If you’re ambitious, you can experiment with Skin (which is really clothing), Weight values, and body morph region values. These options will add clothing, change general body shape, and change limb shapes, respectively.
We’ll just keep the default female. The skin looks brown but it’s really white.
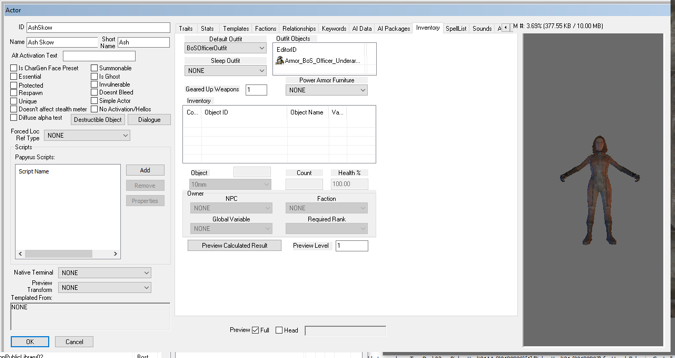
Click the Inventory tab[edit | edit source]
This is where you give the character outfits, weapons, and other items.
We’ll just give Ash clothes for now.
Select an outfit in the Default Outfit dropdown[edit | edit source]
I selected the Brotherhood of Steel Officer Outfit: BoSOfficerOutfit, but you can pick whatever you want.
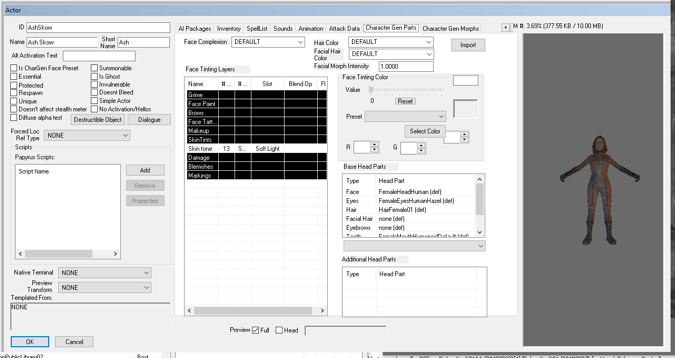
Click the Character Gen Parts tab[edit | edit source]
This will allow you to change mostly head features, like hair color and eye color. You can also change skin color and hair style.
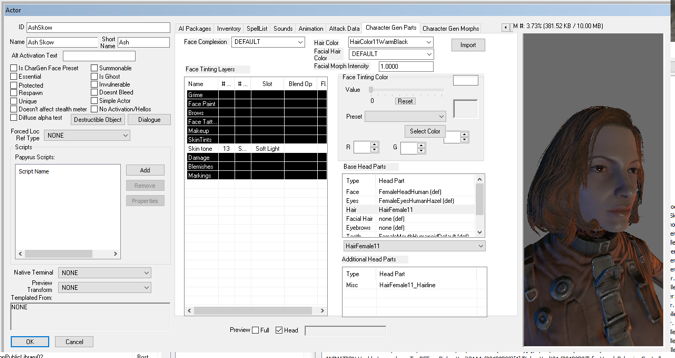
Select a Hair Color in the Drop Down[edit | edit source]
Highlight Hair in the Base Head Parts area
Select a hairstyle in the dropdown
Double click the Head checkbox to see your changes.
Note: In changing the hair style it’s important to first highlight Hair in the Base Head Parts. This fills the dropdown with hair styles. I selected HairColor11WarmBlack for the hair color (color does not show!), and HairFemale11 for the hair style.
Click the OK Button[edit | edit source]
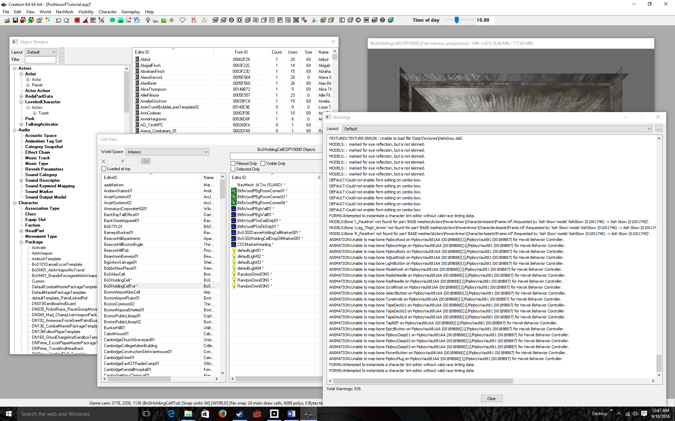
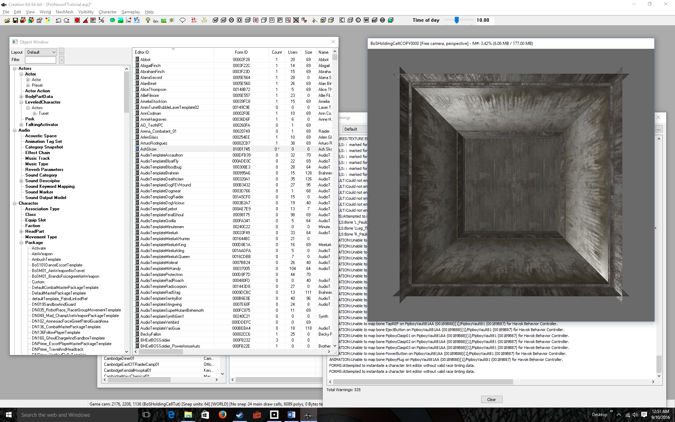
Click on the Object Window to bring it up, and also Click on the Render Window to bring it up[edit | edit source]
I’m assuming you are continuing from Tutorial 4 and the BosHoldingCellTut is selected and displayed in the Render Window
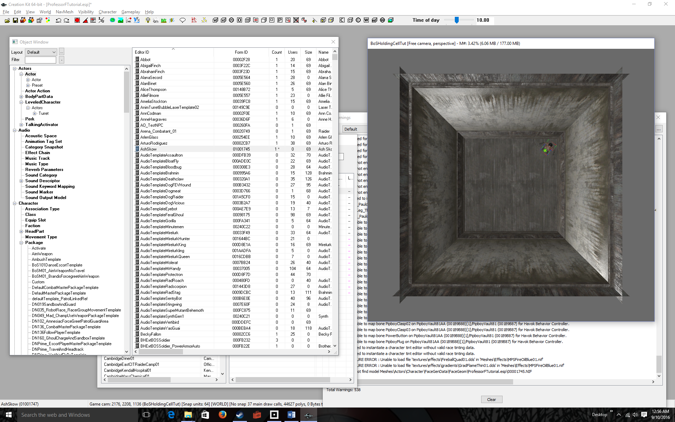
Left-Click-Hold-Drag NPC onto your cell[edit | edit source]
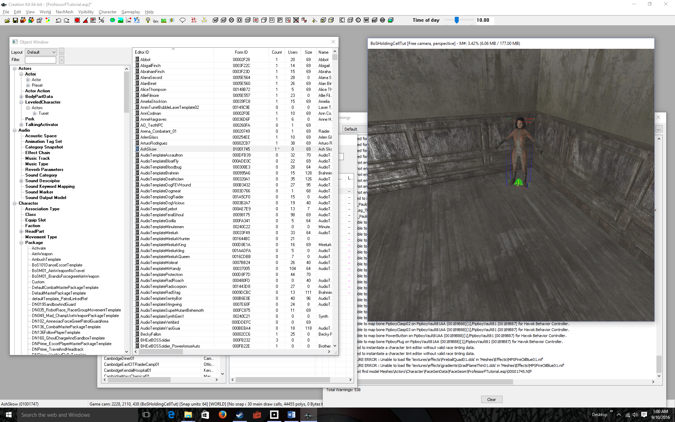
I put Ash Skow in the upper-right corner.
You can left-click-hold-and-drag the character to different parts of the room, but she’s difficult to see, so let’s adjust the camera next.
Experiment with moving the camera[edit | edit source]
You must select the character first by clicking on it. Then when the character is selected, you can:
- zoom in with the mouse wheel
- rotate the character by holding the right mouse button while moving the mouse
- rotate about the character by holding the shift key while holding the left mouse key and dragging the mouse
Pan by holding down the middle mouse button and dragging
File > Save[edit | edit source]
You’ll get the usual warning. I brought up the Warnings window so you could see them. Ignore them.
You’re done. Now let’s see the NPC in Fallout 4.
Run Fallout 4 and get into the game[edit | edit source]
Remember you don’t have to reload your mod again. Just continue through to the game.
Note: If you’re not in BoSHoldingCellTut, teleport there using coc as in the previous tutorial
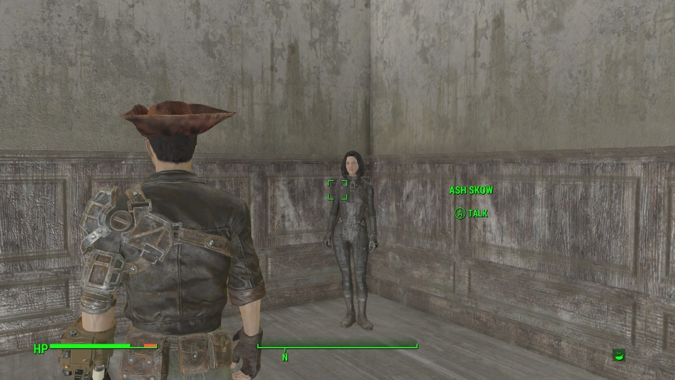
Look around for Ash in the corner of the room.
Of course if you try to talk to her, she doesn’t say anything. We’ll do that next.
