Difference between revisions of "Fallout 4 Simple Fetch Quest Tutorial Chapter 13: Ending Dialog"
imported>Ravelabenergy |
|||
| Line 110: | Line 110: | ||
=Click the OK button again= | =Click the OK button again= | ||
So we’ve restricted the dialog to our NPC (AshSkow). The last restriction (condition) for the dialog is to have it only activate if | So we’ve restricted the dialog to our NPC (AshSkow). The last restriction (condition) for the dialog is to have it only activate if the user has retrieved the artifact (Quest Stage #30, i.e., <40). | ||
[[image:Picture13-18a.png]] | [[image:Picture13-18a.png]] | ||
Latest revision as of 01:21, 30 December 2024
| Fallout 4 Simple Fetch Quest Tutorial Chapter 13: Ending Dialog | |
|---|---|
| Fallout 4 Scripting Quest Tutorial Series, Chapter 13: Ending Dialog | |
| Return to Tutorial Hub | |
| Next Tutorial | |
Note: This tutorial is written in Action-Reaction style — Headers are the action you have to do, and the pictures that follow depict the reaction (or result) of the Creation Kit.
Start up your Mod in the GECK[edit | edit source]
- Open up your Quest
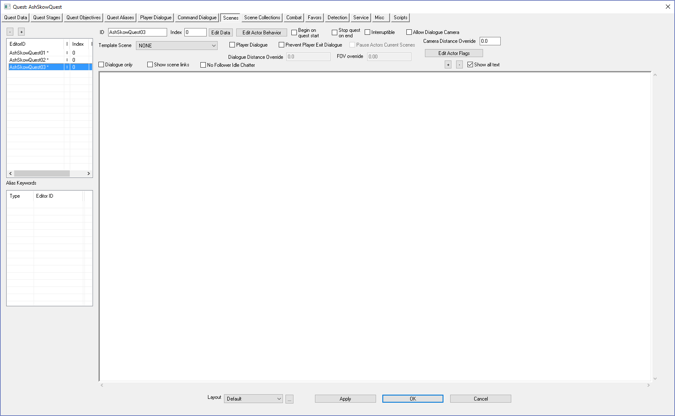
- Click on the Scenes tab
Note: This is only if the GECK isn’t running, and yes I skipped a lot of steps because we’re far into these tutorials!
Having accepted the quest and having the artifact update the Object Stage to retrieved (30) we now need to add a scene of dialog for when the player returns to the NPC.
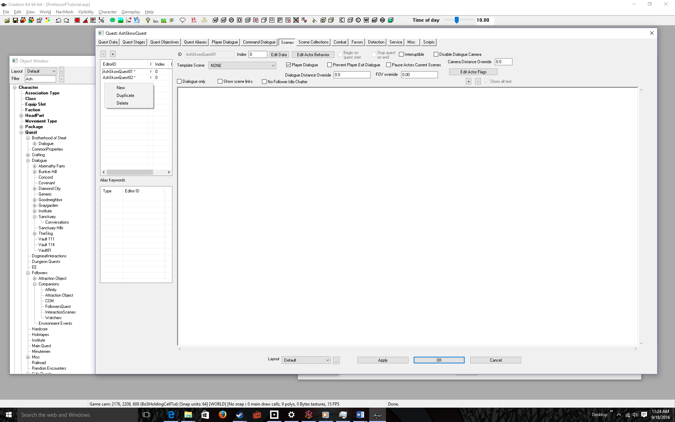
Right-Click over the EditorID panel[edit | edit source]
What we’re going to do is create a scene for returning the artifact to the NPC. The dialog will include text for refusing to give the artifact as well as text for being evasive.
Select New[edit | edit source]
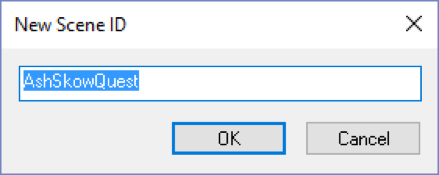
The quest ID is shown as a prefix. Don’t use that as a scene ID, See next step
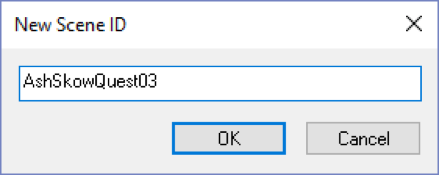
Append NN to the text[edit | edit source]
Where NN is the number of the scene, in our case 03.
Click OK[edit | edit source]
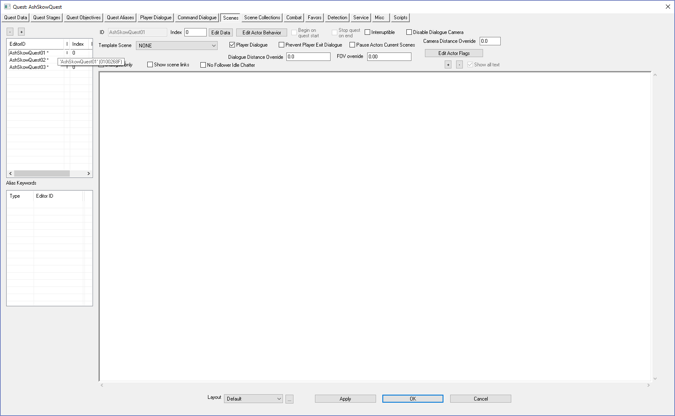
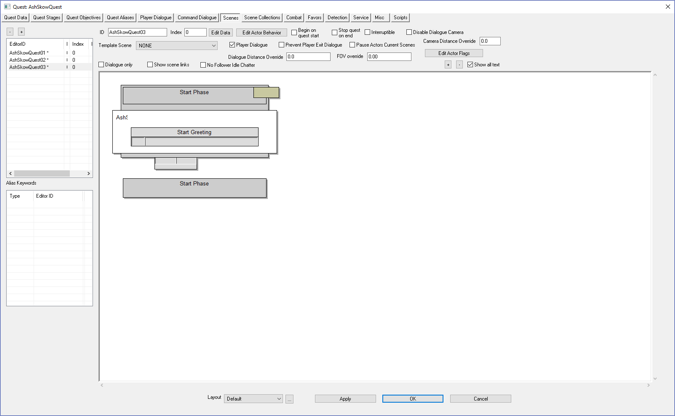
Note the scene name appears in the EditorID list, AshSkowQuest03
Click on the scene name[edit | edit source]
Note that the ID text box fills in with your scene name, AshSkowQuest03
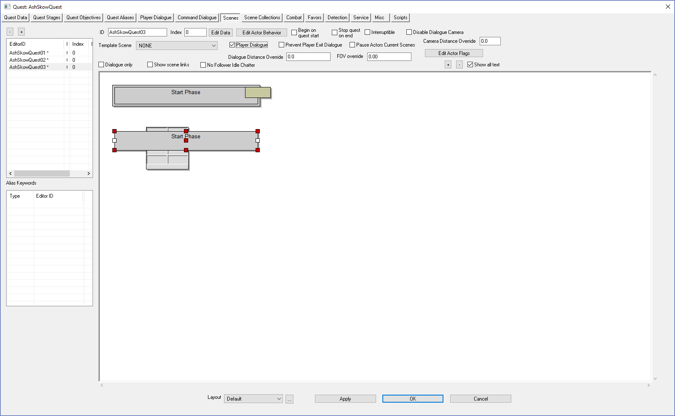
Click on the Player Dialogue checkbox[edit | edit source]
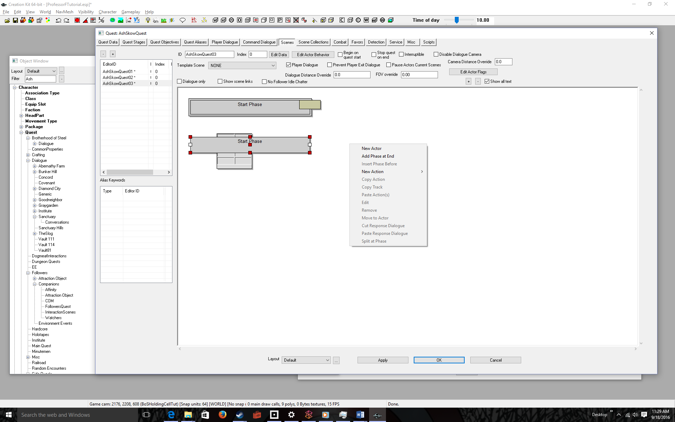
Right-click anywhere in the white area[edit | edit source]
Select New Actor[edit | edit source]
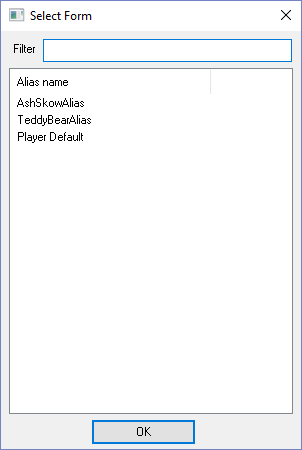
Click on your NPC alias (AshSkowAlias) then click the OK button[edit | edit source]
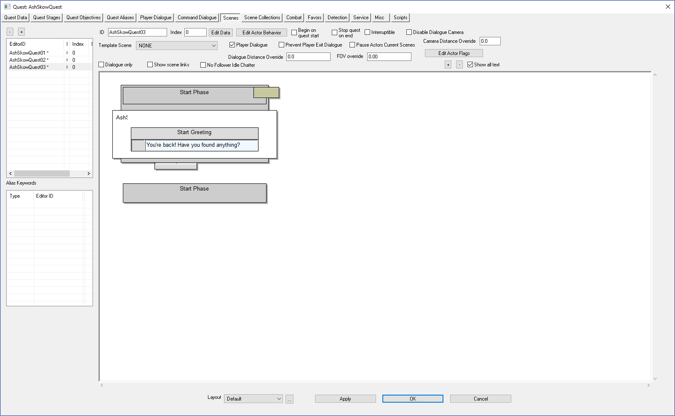
Double-click the empty gray box underneath Start Greeting[edit | edit source]
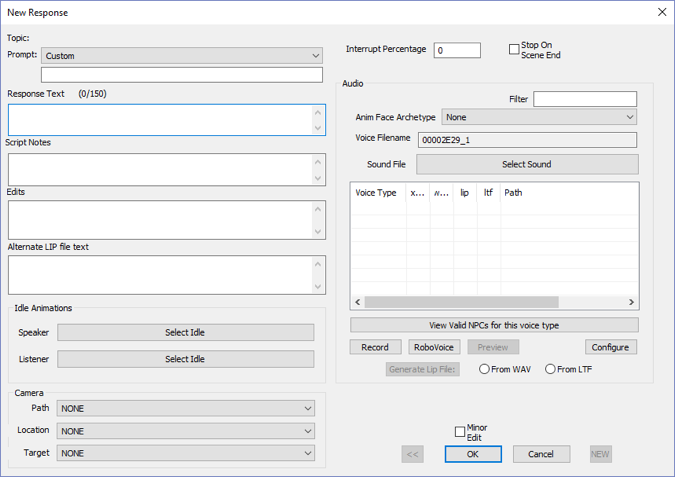
Here you will find a number of inputs, but the only one that matters is the Response Text. This is the greeting the player will see when prompted to talk to the NPC
Type a greeting into the Response Text box[edit | edit source]
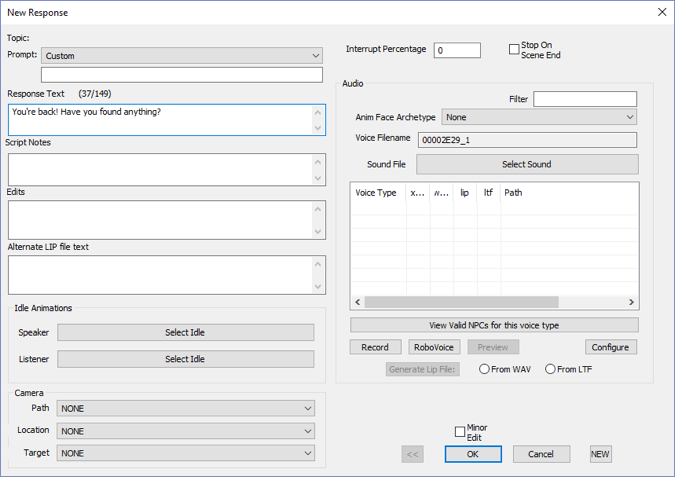
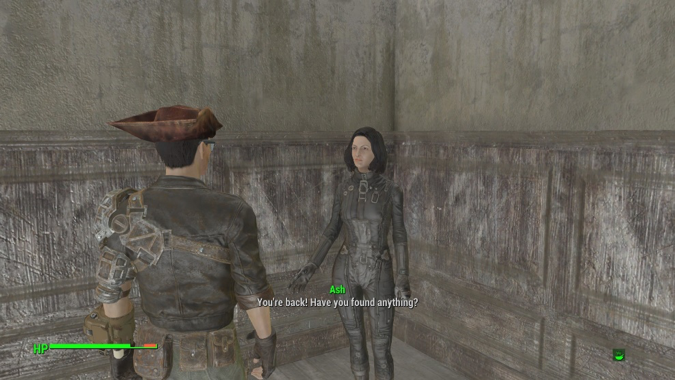
Example: “You’re back! Have you found anything?”
Remember! this is the final scene because the player has retrieved the artifact already.
Click the OK button[edit | edit source]
Note: the Response Text is filled with your greeting.
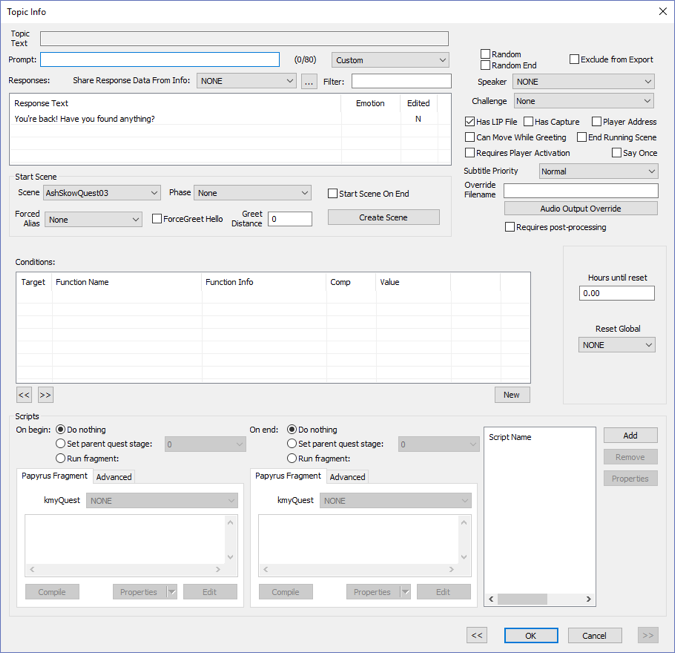
Now let’s restrict this dialog to the NPC and have it activate only after the player has retrieved the artifacts (I.E when Quest Stage #30 ➔ < 40)
Click New[edit | edit source]
Click INVALID[edit | edit source]
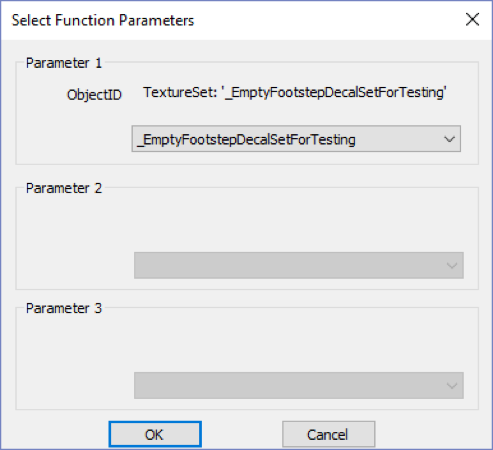
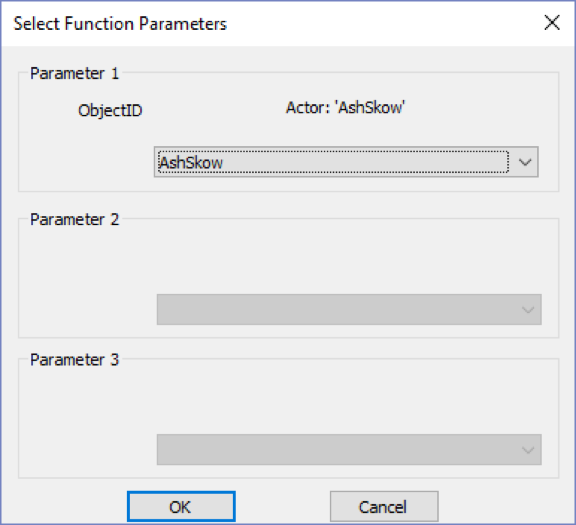
Select the NPC in the dropdown for Parameter 1[edit | edit source]
Click the OK button[edit | edit source]
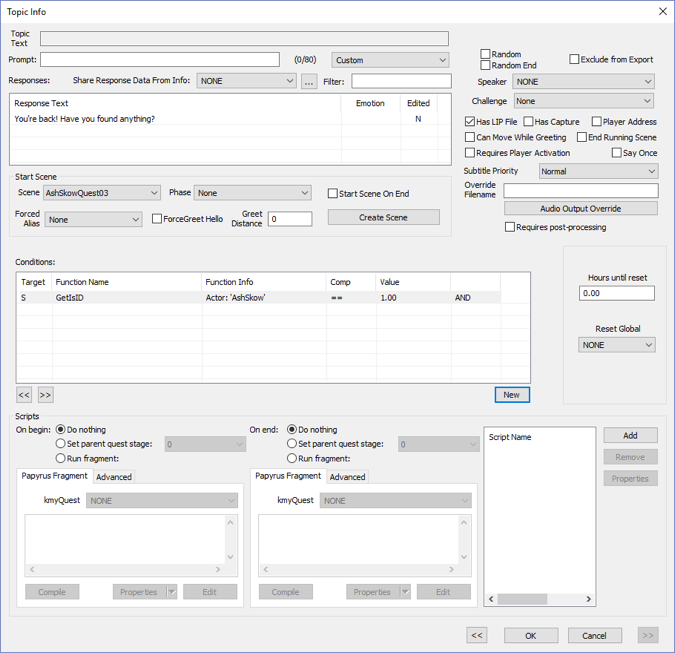
Now only the NPC (AshSkow) can say the dialog. If you don’t add this, the player or any NPC can saythe dialog if near.
Click the OK button again[edit | edit source]
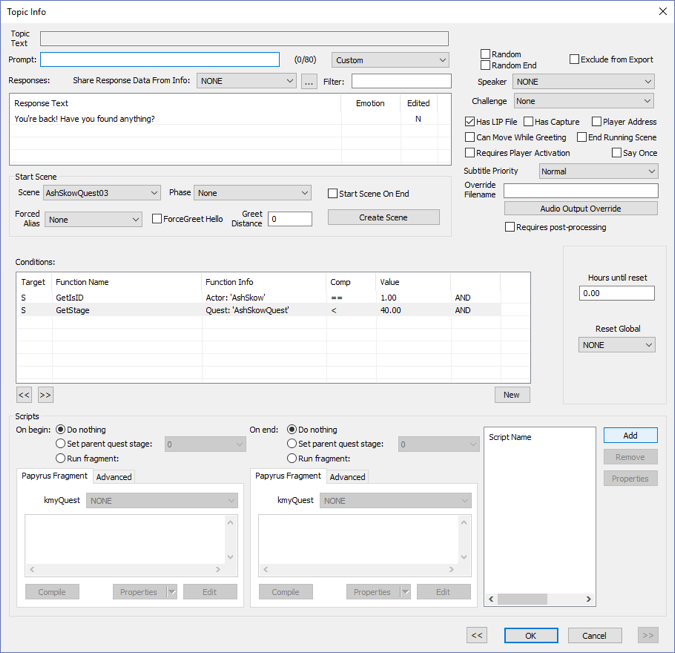
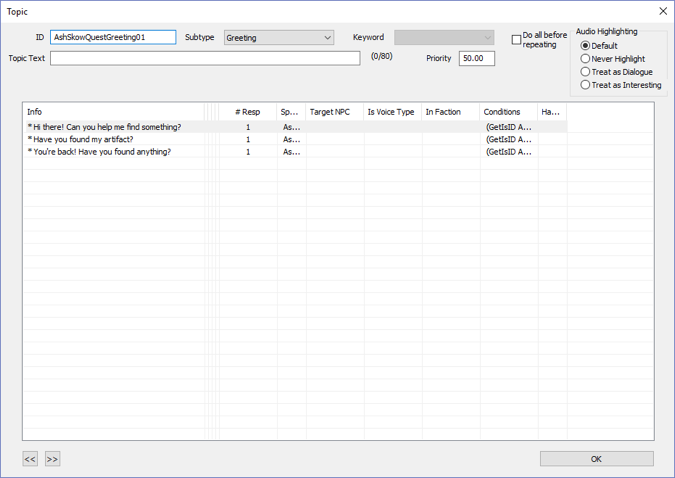
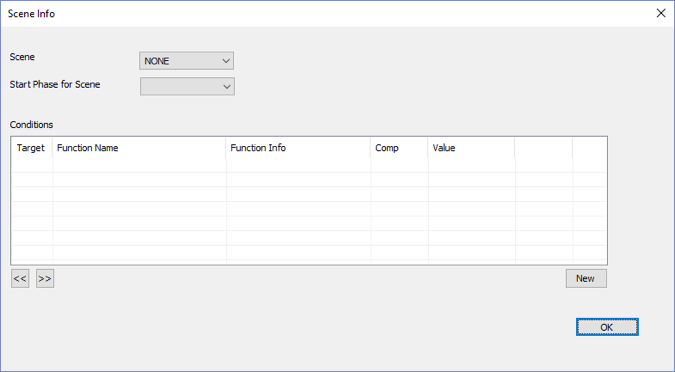
So we’ve restricted the dialog to our NPC (AshSkow). The last restriction (condition) for the dialog is to have it only activate if the user has retrieved the artifact (Quest Stage #30, i.e., <40).
Click New[edit | edit source]
Select GetStage in the Condition Function drop-down, Set Comparison to <, and the Value to 40[edit | edit source]
Click the OK button[edit | edit source]
Click the OK button[edit | edit source]
Note: You should see all the greetings for all the scenes
Click the OK button[edit | edit source]
Finally we’re back to the main scene window.
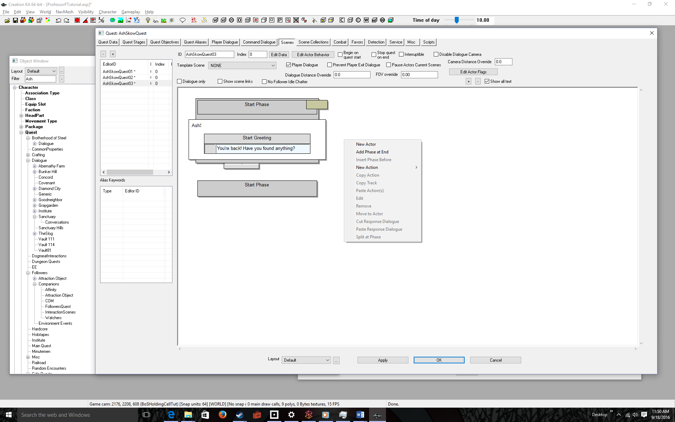
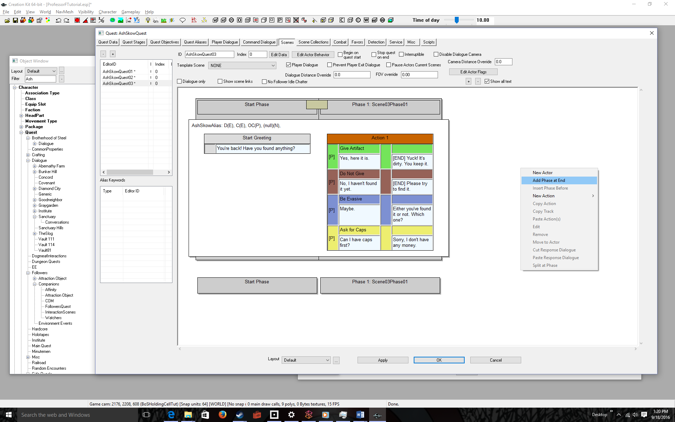
Right-click on the white scene area[edit | edit source]
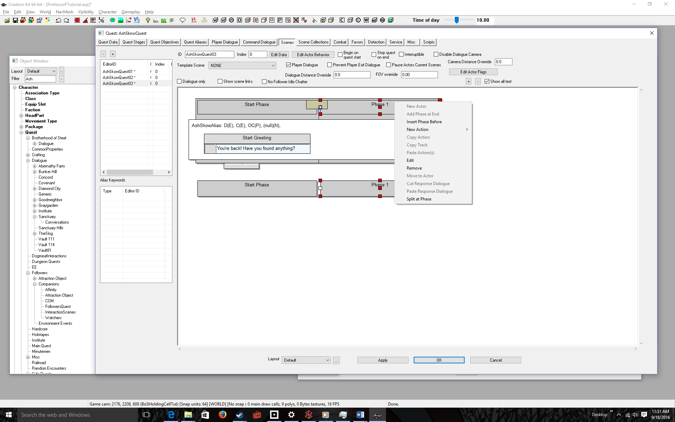
Select Add Phase at End[edit | edit source]
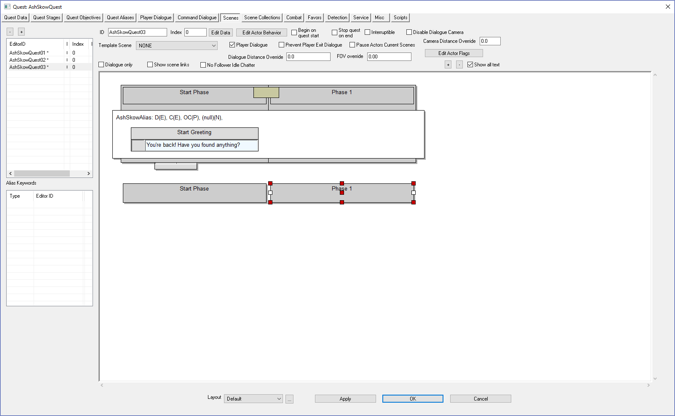
Typically each phase contains associated dialog. After the greeting we will add a 4-part interactive dialog, which will first require adding a Phase 1
Right Click Over the Phase name[edit | edit source]
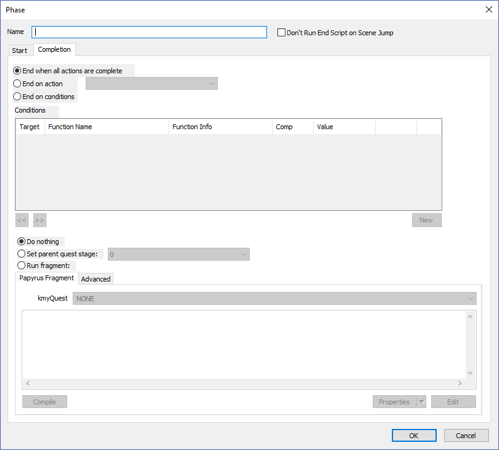
Select Edit[edit | edit source]
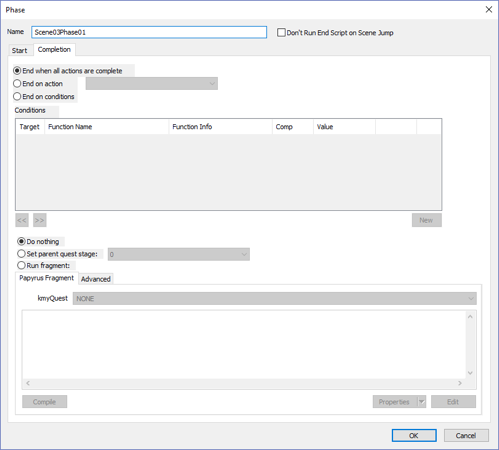
Give the Phase a name[edit | edit source]
Example: Scene03Phase01
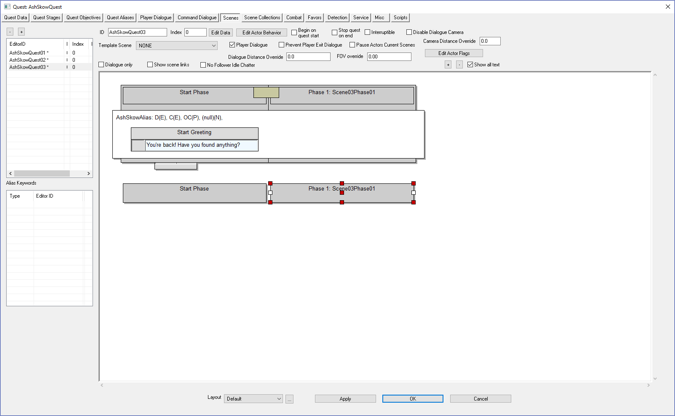
Why are we doing this? Because it will allow us to loop to the phase and repeat the 4-part dialog until the player either accepts or denies the quest.
Click the OK button[edit | edit source]
Now we’re ready to add interactive dialog
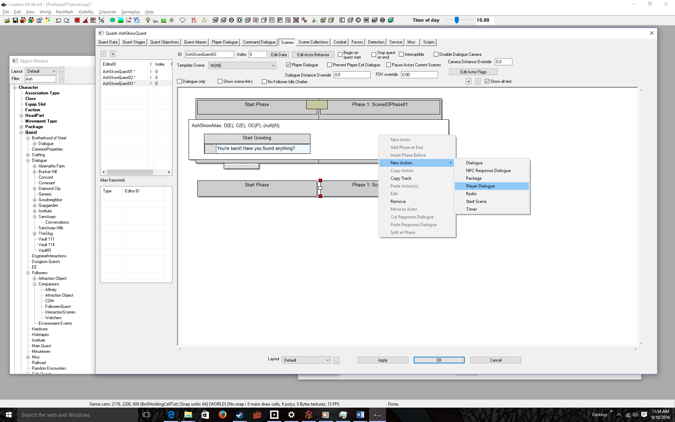
Right-click over the white area under the phase[edit | edit source]
Select New Action > Player Dialogue[edit | edit source]
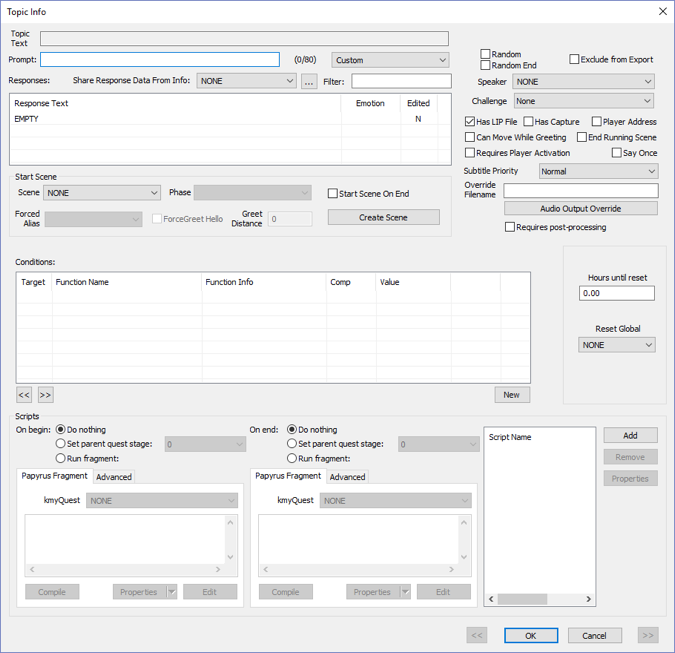
The Topic Info dialog pops up allowing you to set initial options.
Conditions are the most likely option you will set, but since we did set conditions in the greeting, and this follows from the greeting, it shouldn’t be necessary.
Click the OK button[edit | edit source]
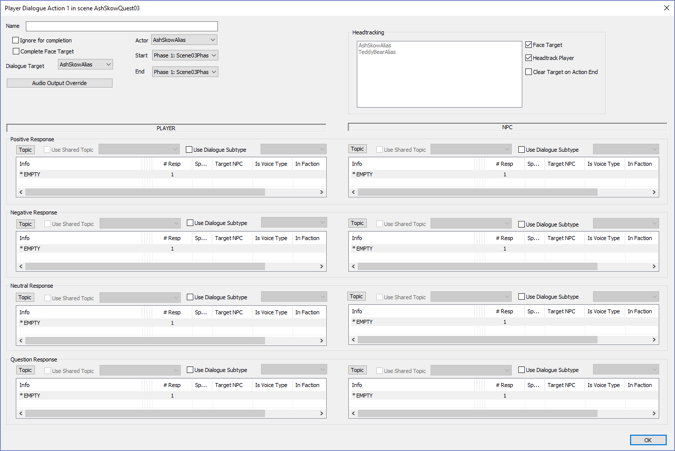
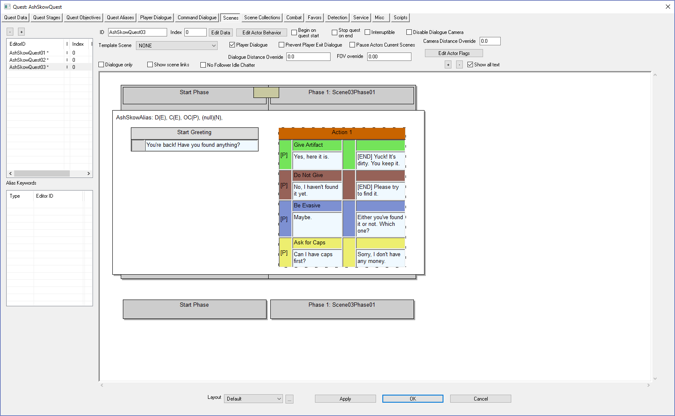
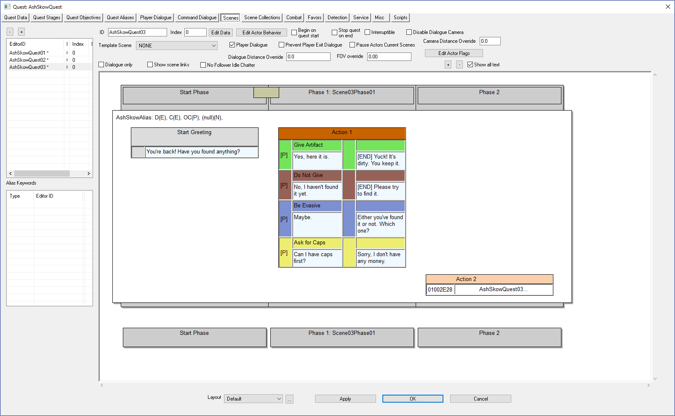
The 4-part dialog box pops up.
Enter Prompts & Responses[edit | edit source]
(Details not shown-see Quest Dialog Beginning tutorial)
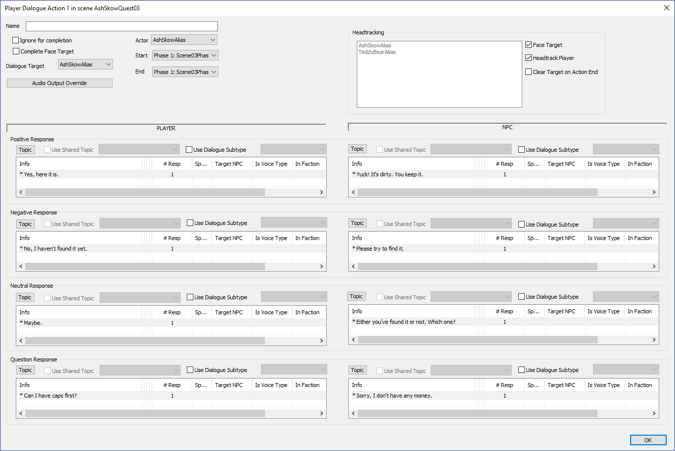
Do the following for the PLAYER
Sentiment: Prompt—Response
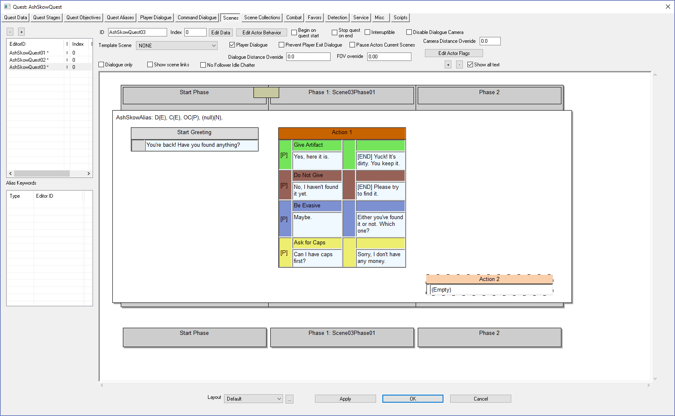
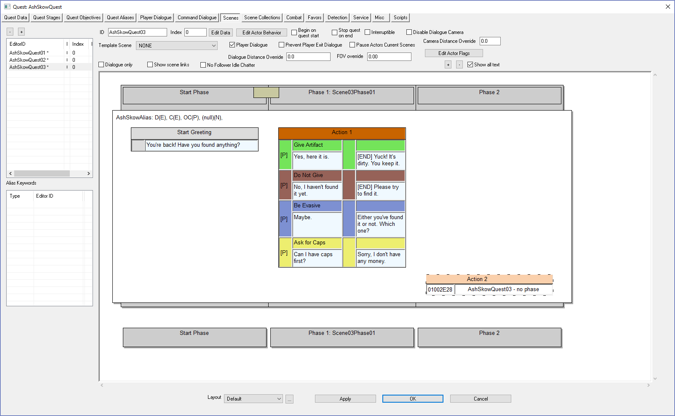
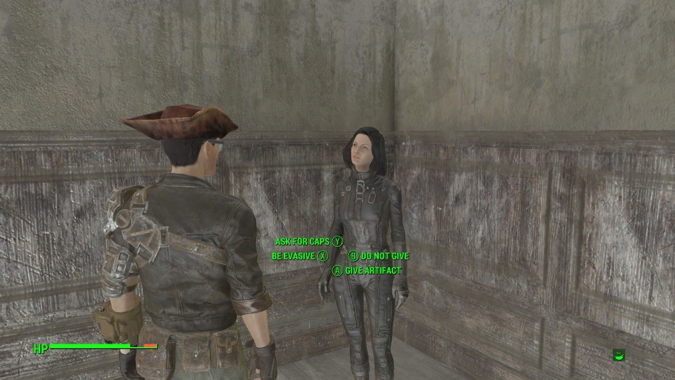
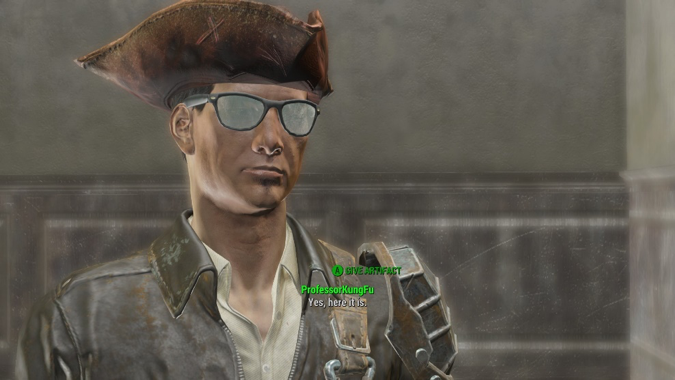
Positive: Give Artifact — Yes, here it is.
Negative: Do Not Give — No, I haven’t found it yet.
Neutral: Be Evasive — Maybe.
Question:Ask for Caps — Can I have caps first?
Do the following for the NPC
Sentiment: (NO PROMPTS for NPCs)—Response
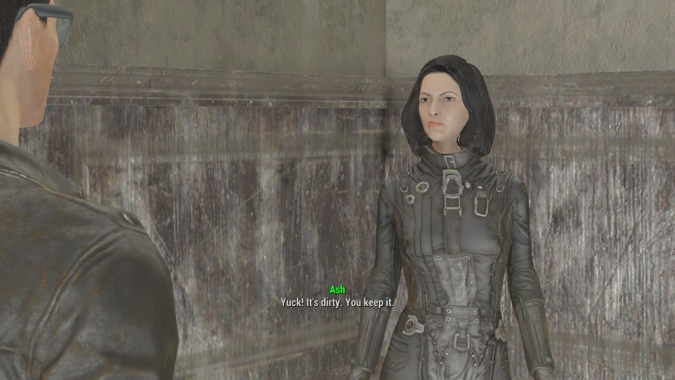
Positive: () — Yuck! It’s dirty. You keep it.
Negative: () — Please try to find it.
Neutral: () — Either you’ve found it or not. Which one?
Question: () — Sorry, I don’t have any money
IMPORTANT: Check End Running Scene for the positive and negative NPC responses.
Click OK[edit | edit source]
You’re almost done. You have to loop to main dialog until either the player agrees to give the artifact or the player refuses.
Notice the [END] in the Positive and Negative NPC responses. If you don’t see it, double click on those responses and check the End Running Scene checkbox.
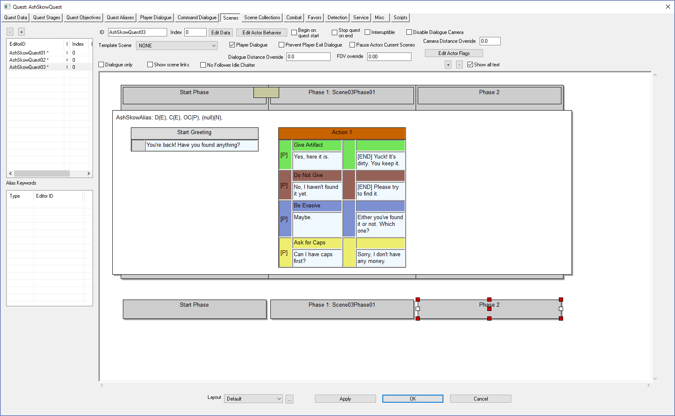
Right-click in the white scene area[edit | edit source]
Select Add Phase at End[edit | edit source]
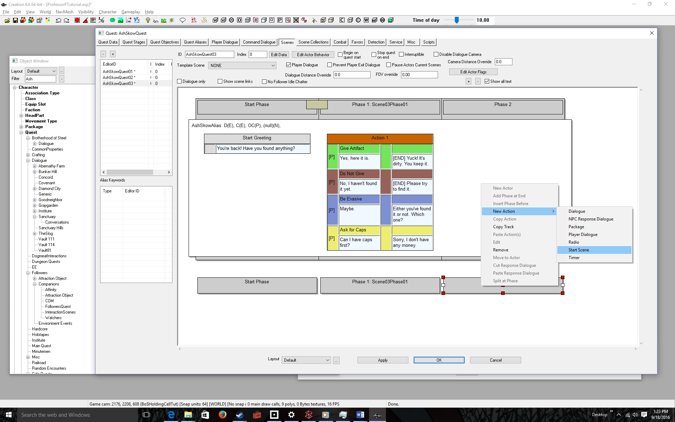
Right-click in the white phase area[edit | edit source]
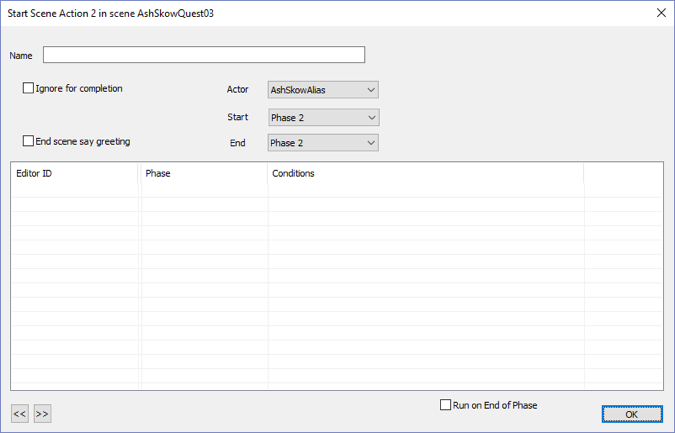
Select New Action > Start Scene[edit | edit source]
Click OK[edit | edit source]
Double-click (Empty)[edit | edit source]
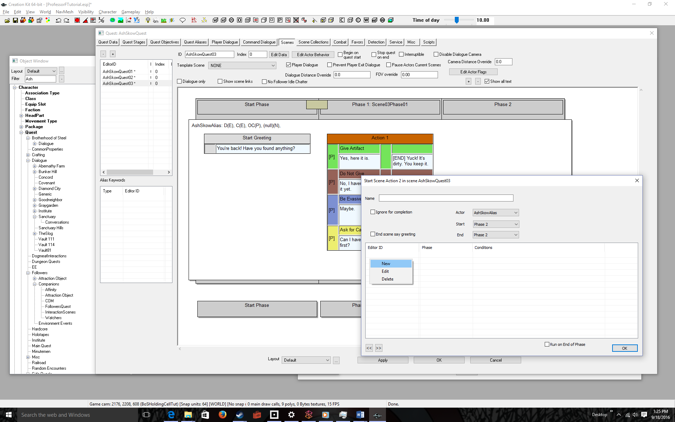
Right-click under Editor ID[edit | edit source]
Select New[edit | edit source]
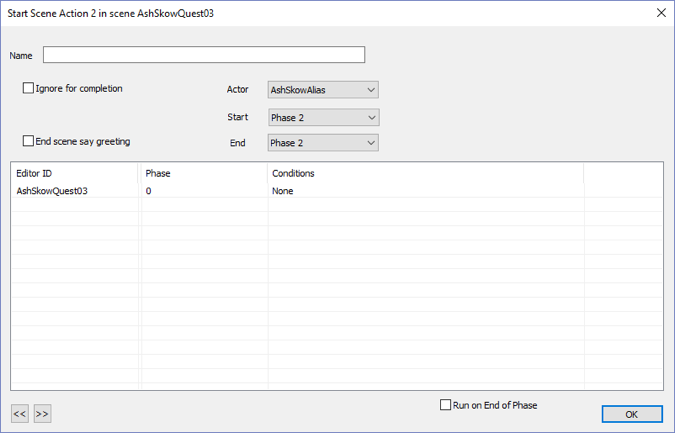
Select the Scene and Start Phase in the drop down boxes[edit | edit source]
In our example AshSkowQuest03 and Scene01Phase03, respectively
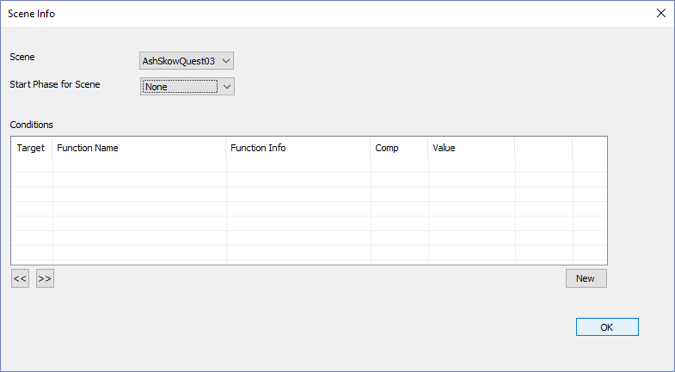
Note: Sometimes it doesn’t let you select the Start Phase for Scene (like in this example). None is the only available option. So just go to the next step.
Click OK[edit | edit source]
Click OK[edit | edit source]
Now any four-way response should loop the scene.
We’re almost done, but before we finished let's look at a possible bug fix
BUG FIX: If under Action 2’s label, you see “- no phase” do this:[edit | edit source]
Click the Quest Objectives Tab, then Click the Scenes tab This somehow fixes the bug in the GECK and fills in the phase with:
Scene03Phase01
You can verify this by double clicking on the text under Action 2:
Double-click on the NPC positive response[edit | edit source]
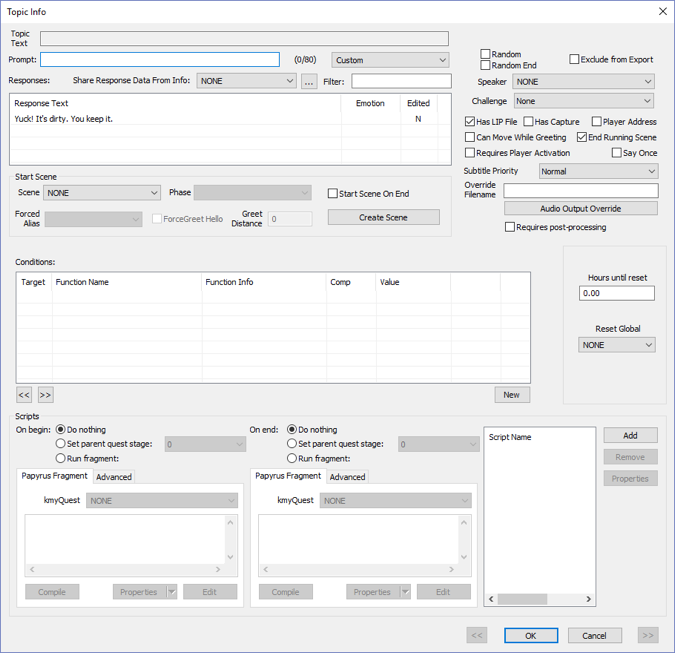
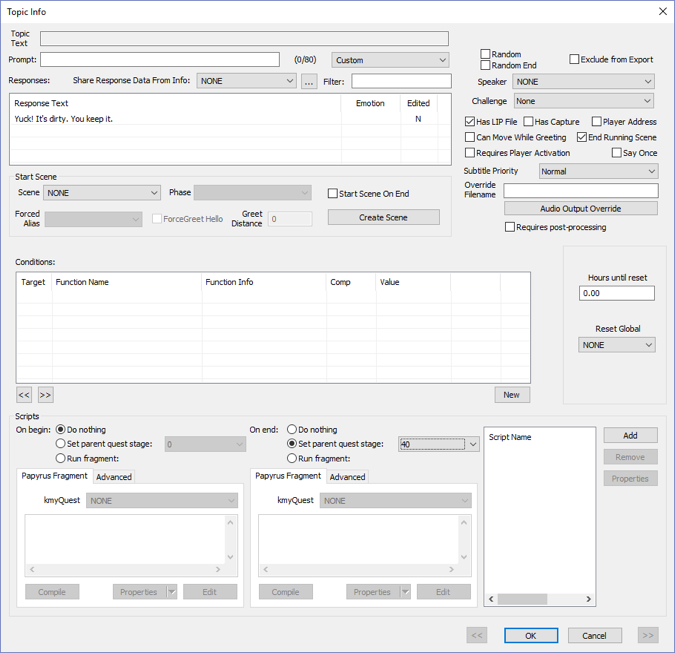
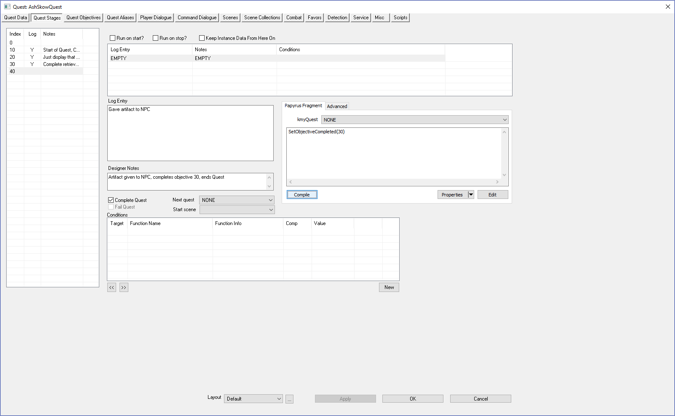
To end the quest we have to set the Quest Stage ID to completed (40)
Check the Set Parent Quest Stage radio button and set the drop down to the End Quest Stage # (40)[edit | edit source]
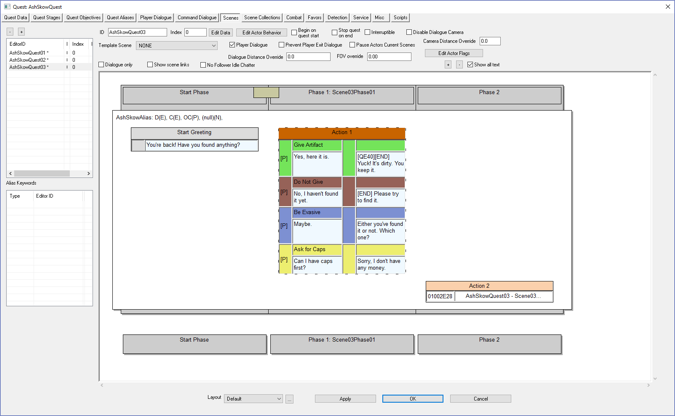
Click OK[edit | edit source]
Note the [QE40] in the NPC positive response, which indicates that the Quest Stage is set to 40, which is the ending quest index. We now have to code the ending response.
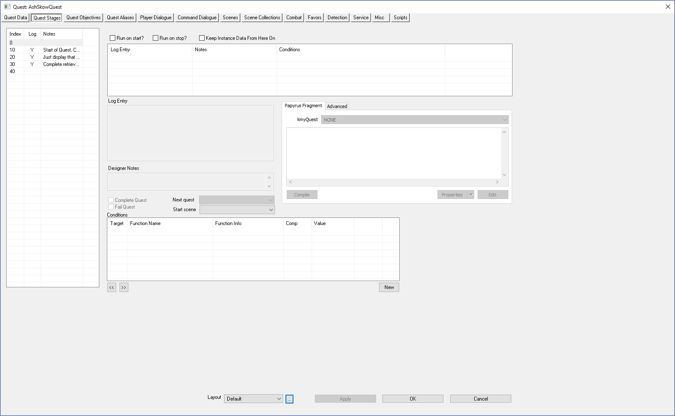
Click on the Quest Stages tab[edit | edit source]
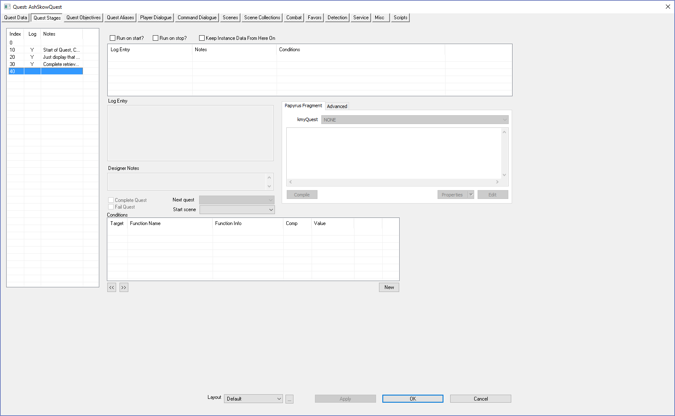
Select the Ending Quest Index (40)[edit | edit source]
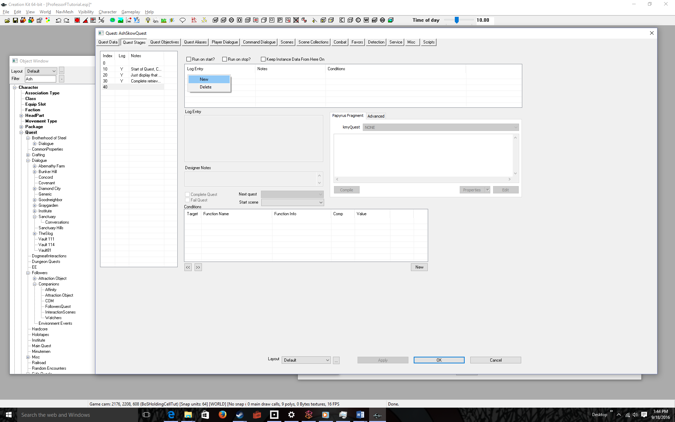
Right-Click under Log Entry[edit | edit source]
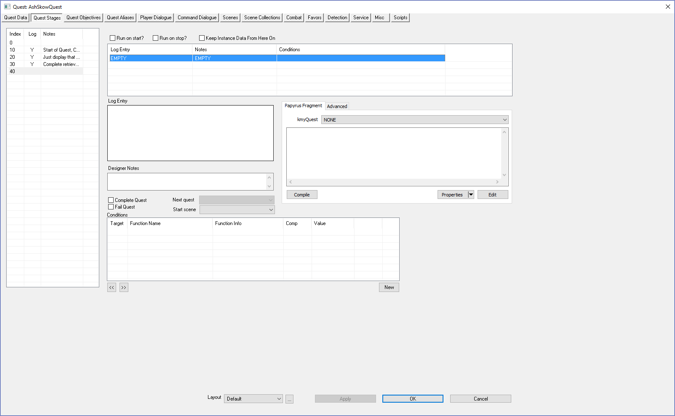
Select New[edit | edit source]
Enter a Log Entry, Designer Notes, Code, and CHECK the Complete Quest box[edit | edit source]
The code is:
SetObjectiveCompleted(30)
Where 30 is Quest Objective # for returning the artifact to the NPC (see Quest Objectives tab)
Click OK[edit | edit source]
Now you’re ready to test your completed quest.
File > Save[edit | edit source]
Run Fallout 4 and advance the quest up to the point where you’ve retrieved the artifact have returned to talk to the player[edit | edit source]
Yes, I know I skipped a lot of steps, but you know how to do all those things already!
Wait for prompts[edit | edit source]
Give the artifact (or you can play with responses, but end by giving it)[edit | edit source]
Wait for NPC response[edit | edit source]
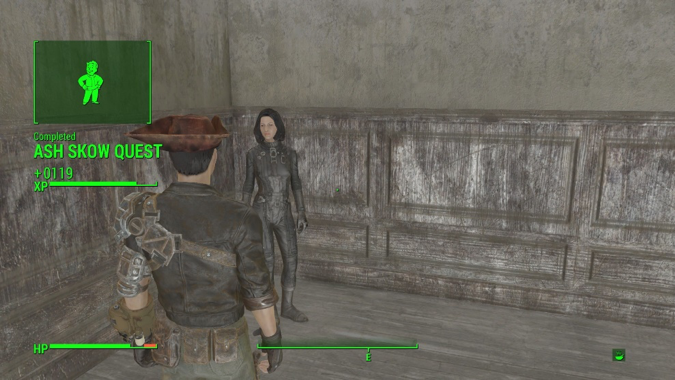
Wait for Quest Complete message[edit | edit source]
You are done! Congratulations ☺
You’ve finished your first mod! However there’s always more to do, always more things that can enhance the mod’s quality and the player's experience. In the next tutorial we’ll discuss how to add a voiceover for your custom dialogue.
Don’t forget to quit out of the game! (ALT-F4 for the PC Master Race)

