Bethesda Tutorial Multiple Ambushes
Multiple Ambush Set up
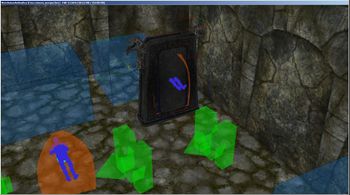
Prefabs make simple ambushes relatively easy to set up - as detailed in this tutorial, but sometimes modifications need to be made. For example, multiple actors that ambush the player based on a single trigger. We'll couple more in our hallway here to provide a better lead up to our Boss. First, go back to WarehouseAmbushes and copy the Vertical Sarcophagus ambush set up.
|
|
| Fig. 6.17: Vertical Sarcophagus set up in WarehouseAmbushes |
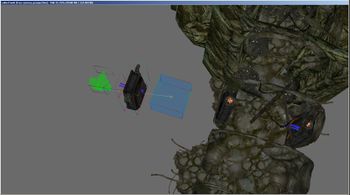
Fig. 6.18: |Ambush set up in the void |
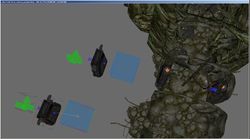
Now we are going to make another duplicate of this set up by selecting all the pieces and using CTRL+D and moving off into the void. We'll get back to this later.
|
| Fig. 6.19: Two Ambush set ups in the void |
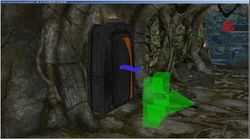
Next we are going to delete one of the sarcophagi we placed in this hallway so we can replace it with an ambush. Then we are going to use Ctrl+Left Click to select the Sarcophagus, Lid, LvlDraugrAmbush1hMelee and Ambush furniture' (The orange marker with the laying down figure) and move them into place. Next move the triggerbox into the hallway and scale/rotate it to cover the whole hallway.
|
| Fig. 6.20: Triggerbox covering hallway |
Now that the triggerbox is covering the hallway, lets hide it by selecting just the triggerbox and then pressing the 1 button twice to completely hide it. This will make it easier for us to position our other Ambushes. Hidden objects show up Blue in the Cell View panel. Next lets delete a couple more of these sarcophagi from the hallway.
| File:Ambush205.jpg |
| Fig. 6.21: Triggerbox hidden, sarcophagi removed from hallway |
We could just move the pieces in and have multiple triggerboxes in the hallway, but that gets hard to work with and we really want them all to use the same triggerbox so go ahead and delete the triggerbox from our ambush set up in the void. Don't worry, if you accidentally break something we can just copy a fresh set up from the WarehouseAmbushes.
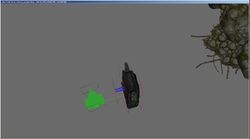
|
| Fig. 6.22: Triggerbox deleted from set up in the void |
Now select the entire set up we have left in the void and duplicate it, then drag it into place as before. Repeat this till we have all the ambushes we want here then delete the set up in the void, as we won't need it any more.
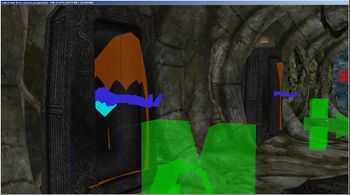
|
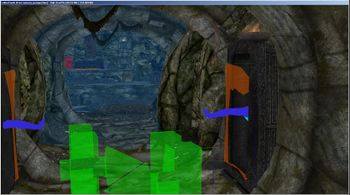
|
| Fig. 6.23: Second sarcophagus replaced with ambush |
Fig. 6.24: Third sarcophagus replaced with ambush |
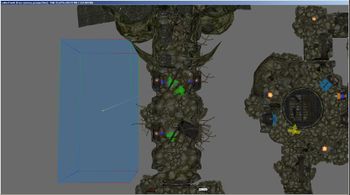
Now we need to hook up these actors to be activated by the triggerbox like our first ambush is. Use Alt+1 to unhide all or F5 to refresh the Render Window so we can see our triggerbox again. Then drag it out into the void for the moment.
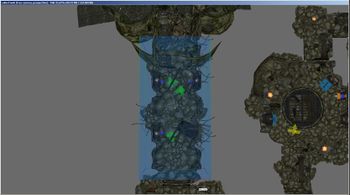
|
|
| Fig. 6.25: Triggerbox now visible on hallway again |
Fig. 6.26: Triggerbox moved out into the void for the moment |
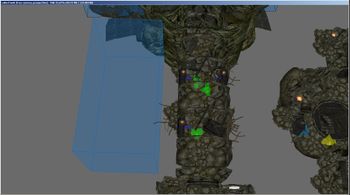
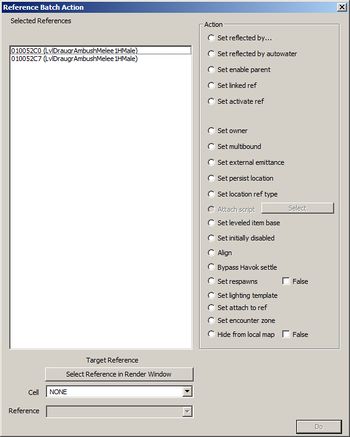
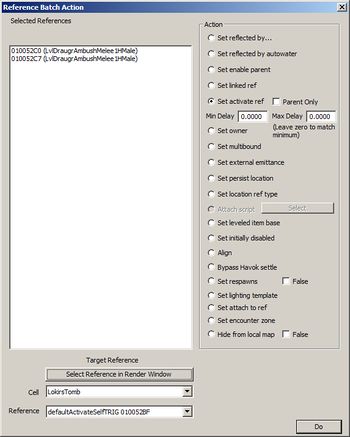
We could go into each of the actors and set up the triggerbox as an Activate Parent in the Activate Parents tab, but since we are doing more than one lets use a different tool, called Reference Batch Action or just Batch for short. This lets us perform the same action on all the references we have selected at once, which is a major time saver. First select just the Actors we want to have as Activate Children of the triggerbox. Next we are going to make sure the triggerbox is in view in the Render window then press the "-" button (located up near the Backspace key). This will bring up the batch window.
|
|
| Fig. 6.27: Both LvlAmbushActors selected in Render window, Triggerbox visible |
Fig. 6.28: Labeled view of Reference Batch Window |
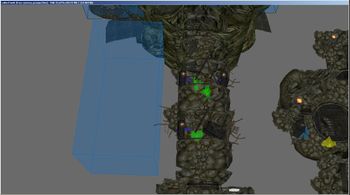
On the left side you can see all the Actors we have selected, on the right side the actions we can perform. The bottom area on the panel shows allows us to set the target of the action. Check the Set activate ref button in the Action panel, located 5th from the top. Next, press the "Select Reference in Render Window" button from the Target area of the panel then use the Target Cursor and double click on our triggerbox. You should now see the "defaultActivateSelfTRIG" as the Reference in the Target Reference area. Now go ahead and hit the "Do" button in the lower right, then close the Reference Batch Action window.
|
|
| Fig. 6.29: White target reference cursor used to select triggerbox |
Fig. 6.30: Triggerbox is now the target reference that will become an activate parent for these actors |
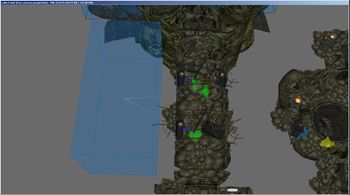
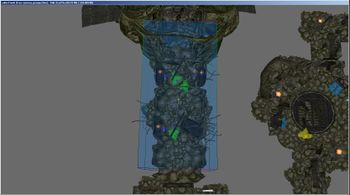
All of our actors are now hooked up to the triggerbox as you can see by the Blue and White Activate Parent Links that appear when you select the triggerbox. Go ahead and move the triggerbox back into place and the basic multiple ambush set up is complete.
|
|
| Fig. 6.31: Both LvlAmbushActors now have the triggerbox as an activate parent |
Fig. 6.32: Triggerbox moved back into place |
Not all actors can use every ambush, but if you want to vary actors of the same type, select the LvlActorAmbush in the ambush set up and use Shift+F to replace it with another LvlActorAmbush of the same type. For example, let's replace one of our "LvlDraugrAmbushMelee1hMale" actors with a "LvlDraugrAmbushMissleFemale" and another with "LvlDraugrAmbushXXXX".
Whether the Draugr wake up immediately when the player enters the box or only when they detect the player can be changed by doing the following:
For more information on the scripting language and properties check out the Papyrus Tutorials. |
