Advanced Traps Tutorial
Overview[edit | edit source]
This tutorial, originally part of the Lokir's Tomb Tutorial Series, covers how to set up a simple Spear Trap. The completed trap can be seen in the example plugin. Users are expected to understand basic object manipulation and object linking.
Spear Traps[edit | edit source]
Some times you want to alter a trap set up a bit to have multiple traps triggered or to have a single trap triggered by multiple pressure plates. We will go over how to place a trap set up by hand here so you have an idea of how to do so.
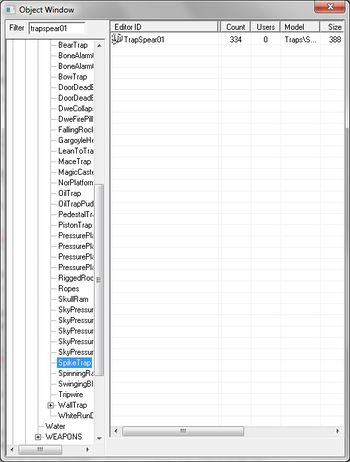
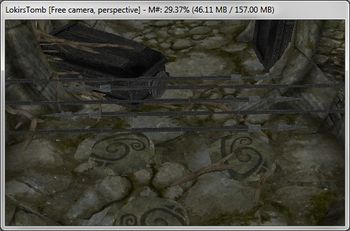
First thing we need to do is find the Spear Trap in the Object Window by filtering as usual, for this set up we will use TrapSpear01. We'll drag one into the Render Window and duplicate it until we have what we need positioned in the hallway.
|
|
| Fig. 6.37: TrapSpear01 in the Object Window |
Fig. 6.38: Spear Traps placed in the hallway in Lokir's Tomb |
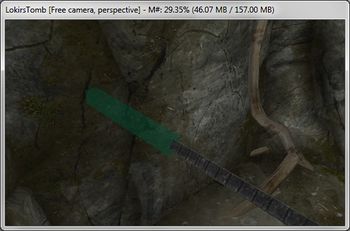
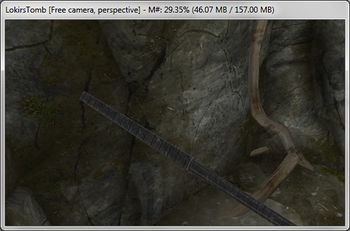
If you have the markers turned on, you will see the long green marker that is built into each spear. This is an indicator of how far back the spear will go when it retracts into the wall so you will need to make sure you have enough clearance.
|
|
| Fig. 6.39: TrapSpear01 clipping into room |
Fig. 6.40: TrapSpear01 repositioned to not clip when retracted |
As you can see, the spears don't have the port built into them so they look like they just clip into the wall right now. Lets grab an item called PortGateBase01 and drag it into the Render Window. Move this and rotate it so it is positioned where the spear meets the wall then duplicate it and place one for each spear.
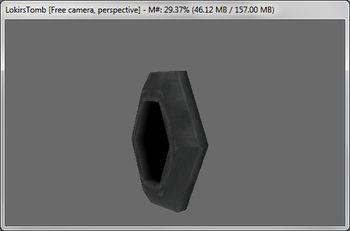
|
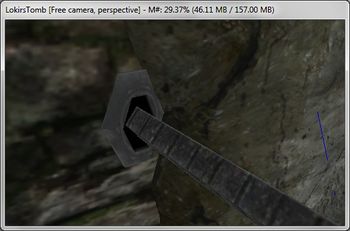
|
| Fig. 6.41: PortGateBase01 in the Render Window |
Fig. 6.42: PortGateBase01 used to hide intersection with wall |
We use separate objects like these at times to allow us flexibility in how we place traps and other objects in our levels. Now that we have all our Spear Traps placed lets place a few pressure plates on the floor. Our preferred pressure plate for Nordic dungeons is TrapStonePressurePlate02, lets place a few of these on the floor.
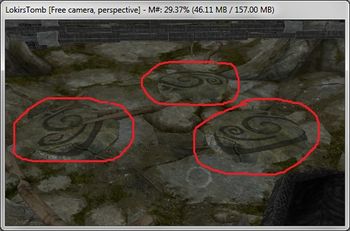
|
| Fig. 6.43: Several Pressure Plates placed in the hallway |
Now, we could set each Pressure Plate as an activate parent of each spear, but can make it difficult to work with if we need to move things or change the traps later so we are going to use a new object called a TrapLinker. The TrapLinker is an activator that has been scripted to pass all the commands a Pressure Plate or other trap trigger needs to send to a trap. It looks like a big blue L in the editor.
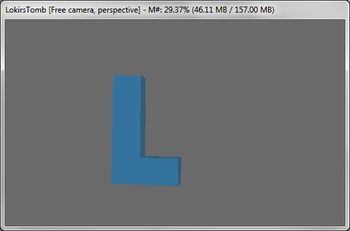
|
| Fig. 6.44: TrapLinker in Render Window |
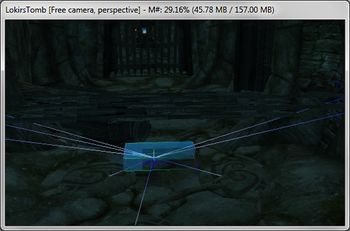
What we are going to do is set the TrapLinker as the activate parent of the Spear Trap, and then set the Pressure Plates as activate parents for the Trap linker. When the Pressure Plate is activated by an actor stepping on it, the trap linker also receives the activation and passes that on to the trap. See image below for a simple example of this.
|
| Fig. 6.45: TrapLinker hooked up to Spear Trap and Pressure Plate. |
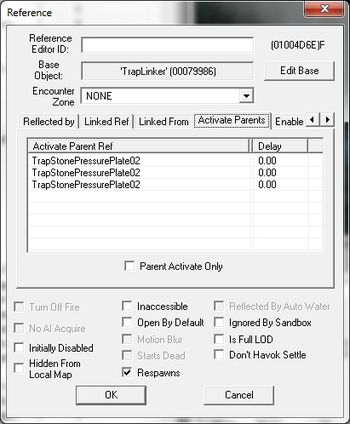
Now that you have an understanding of what we are setting up this next part is pretty easy. First select the TrapLinker and set each of the Pressure Plates as an Activate Parent. It is easiest to do this using the TrapLinker's Object Info because you are only editing one object.
|
| Fig. 6.46: TrapLinker with Pressure Plates as Activate Parents. |
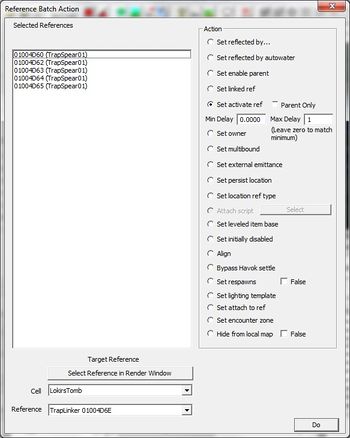
Next we are going to select each of the Spear Traps (just the spears, not the static ports). Use the Reference Batch Action Window to set the TrapLinker as their activate Parent.
To do this:
- Select all of the spears
- Hit the minus key "-"
- Make sure you have the right objects in the "Selected References" pane
- Click "Set active ref" in the "Action" pane
- Enter "1" as the Max Delay (This will assign a random number between 0 and 1 for the delay)
- Click "Select Reference in Render Window" (look familiar?)
- Double click the TrapLinker
- Click "Do"
|
| Fig. 6.47: Reference Batch Action window with Min & Max Delay set. |
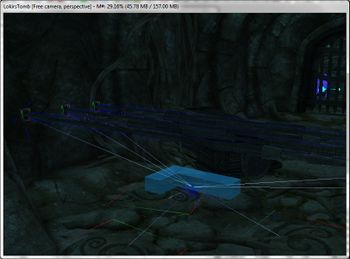
After we run that batch we are finished. Now when the player steps on any of those pressure plates, they will have to avoid a set of spears.
|
| Fig. 6.48: Finished Spear Trap set up. |