Fallout 4 Simple Fetch Quest Tutorial Chapter 10: Quest Accept
| Fallout 4 Simple Fetch Quest Tutorial Chapter 10: Quest Accept | |
|---|---|
| Fallout 4 Scripting Quest Tutorial Series, Chapter 10: Quest Accept | |
| Return to Tutorial Hub | |
| Next Tutorial | |
Note: This tutorial is written in Action-Reaction style — Headers are the action you have to do, and the pictures that follow depict the reaction (or result) of the Creation Kit.
Start up the GECK by running the Bethesda.Net Launcher[edit | edit source]
- Open up your Mod (as in Tutorial 3)
- Bring up your Quest
- Click on the Scenes tab
Note: I skipped a lot of steps, but by now you should know how to bring up your quest.
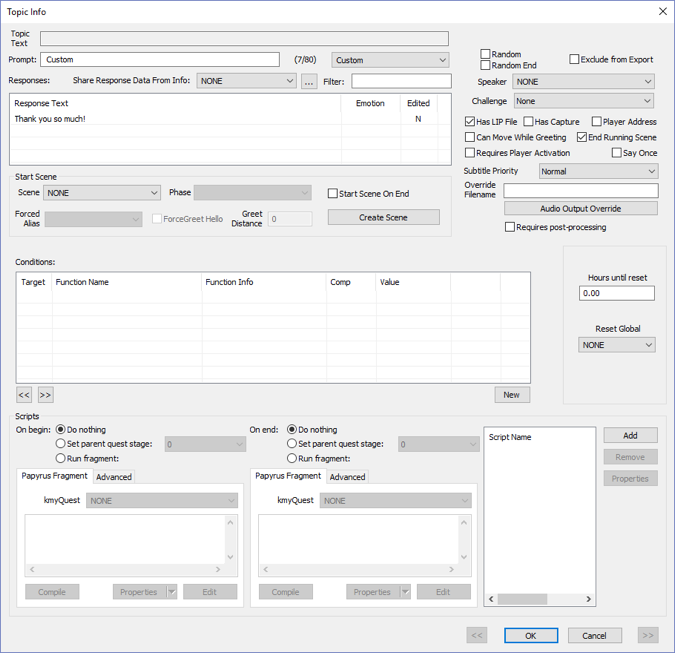
Double-Click the NPC Custom text corresponding to the player agreeing[edit | edit source]
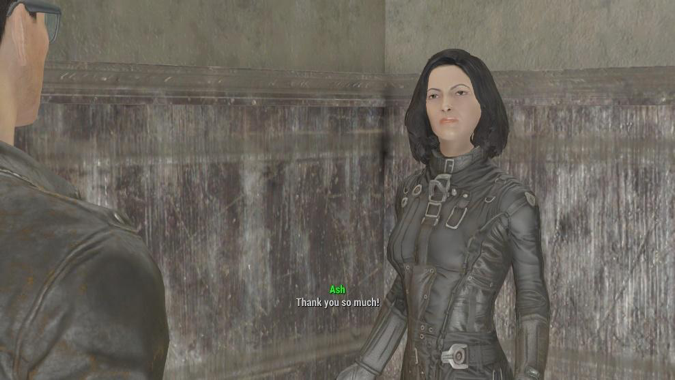
In our example this is: Thank you so much!
Note: Custom might not show up for you
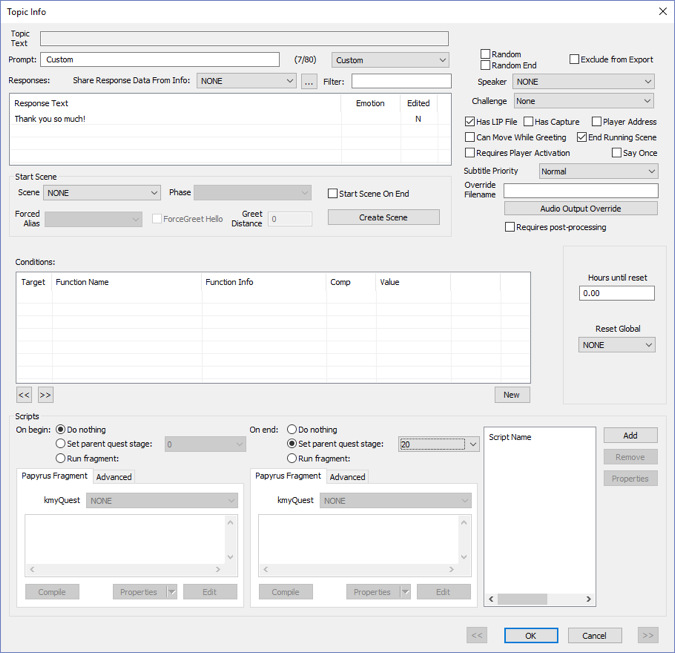
Check the radio button Set parent quest stage[edit | edit source]
- Select the retrieve quest stage # (20)
Click OK[edit | edit source]
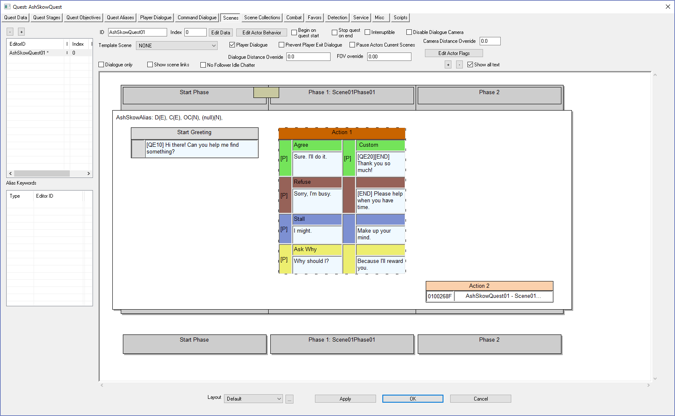
Note that in brackets near the NPC response is QE20, which means ending the dialog will set the quest stage to 20.
Now we have to add code to set the objective displayed to the accept objective (20).
Note: I purposely made Quest Stage #s and Quest Objective #s match. They don’t have to. The numbering is up to you. But this way it’s easier to remember.
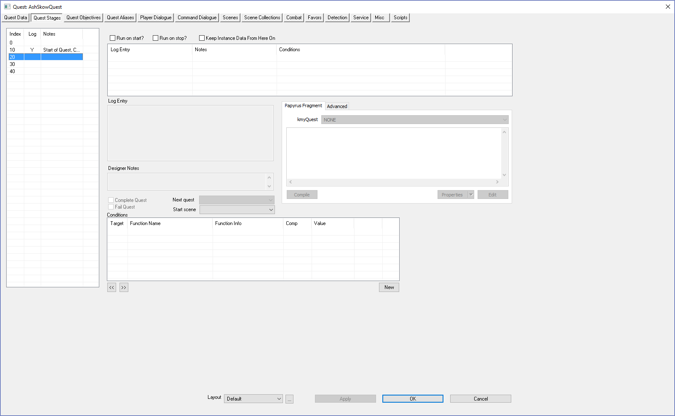
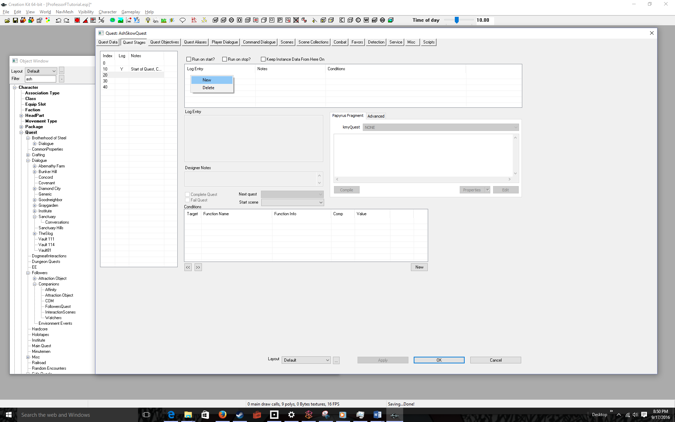
Click the Quest Stages tab[edit | edit source]
- Click on the quest agreement index (20)
Right-Click over Log-Entry[edit | edit source]
Select New[edit | edit source]
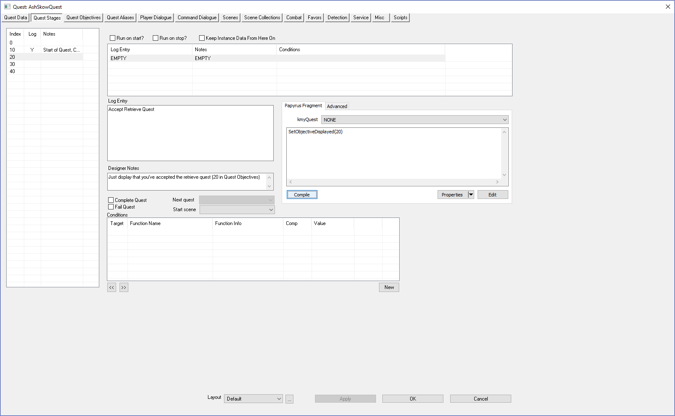
- Add a Log Entry
- Add a Designer Note
- Add Code to Display the Accept Objective
- Click the Compile button
The Code:
SetObjectiveDisplayed(20)
Will display Retrieve Object for Ash to the player
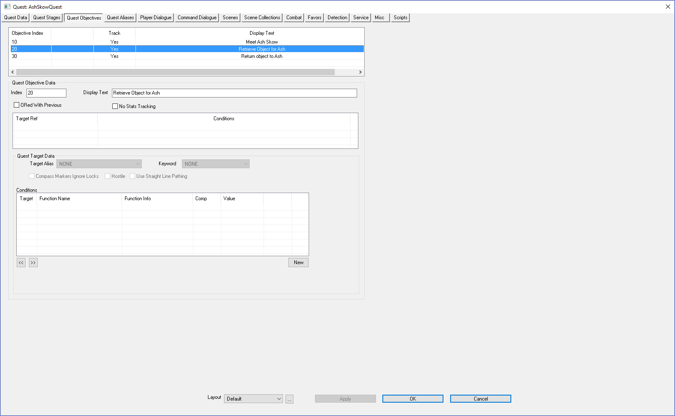
Click on the Quest Objectives tab[edit | edit source]
Note: Objective 20 has the Display Text: Retrieve Object for Ash
This will be displayed once the user accepts the quest.
Click the OK button[edit | edit source]
- Then save your progress by going clicking; File > Save
Startup Fallout 4[edit | edit source]
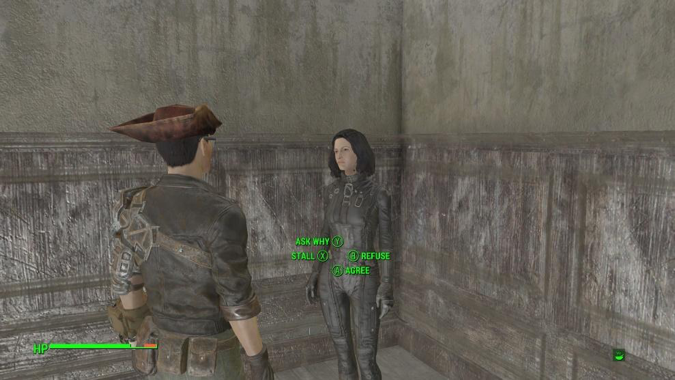
- Talk to Ash
Note: Since you quit out you’ll see all the Start Quest dialog. I “fast-forwarded” to the talk dialog.
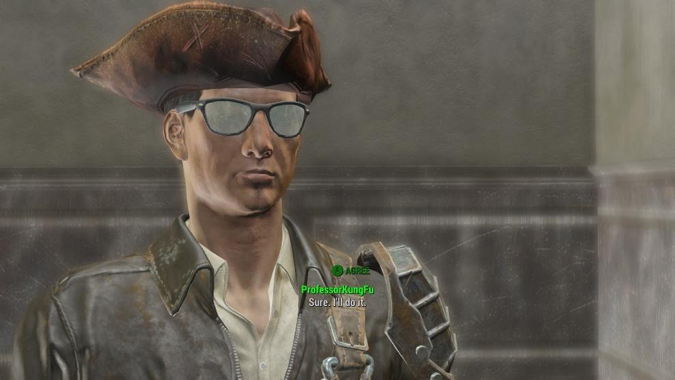
Agree and wait for the dialog to finish[edit | edit source]
Wait[edit | edit source]
Wait some more[edit | edit source]
Then the game should display the message: Retrieve Object for Ash (Objective 20 text). Then you’re ready to retrieve the object (Teddy bear).
Important! Don’t forget to close Fallout 4t (Alt-F4) otherwise Fallout 4 will remember your quest progress and make it hard for you to debug.

