Fallout 4 Simple Fetch Quest Tutorial Chapter 9: Quest Startup
| Fallout 4 Simple Fetch Quest Tutorial Chapter 9: Quest Startup | |
|---|---|
| Fallout 4 Scripting Quest Tutorial Series, Chapter 9: Quest Startup | |
| Return to Tutorial Hub | |
| Next Tutorial | |
Note: This tutorial is written in Action-Reaction style — Headers are the action you have to do, and the pictures that follow depict the reaction (or result) of the Creation Kit.
Start up the GECK by running the Bethesda.Net Launcher,[edit | edit source]
- Open up your Mod (as in Tutorial 3) then
- Bring up your Quest
Yes I skipped a lot of steps, but by now you should know how to bring up your quest.
Click the Scenes Tab[edit | edit source]
What we’re going to do is set it up so that greeting the NPC starts the quest.
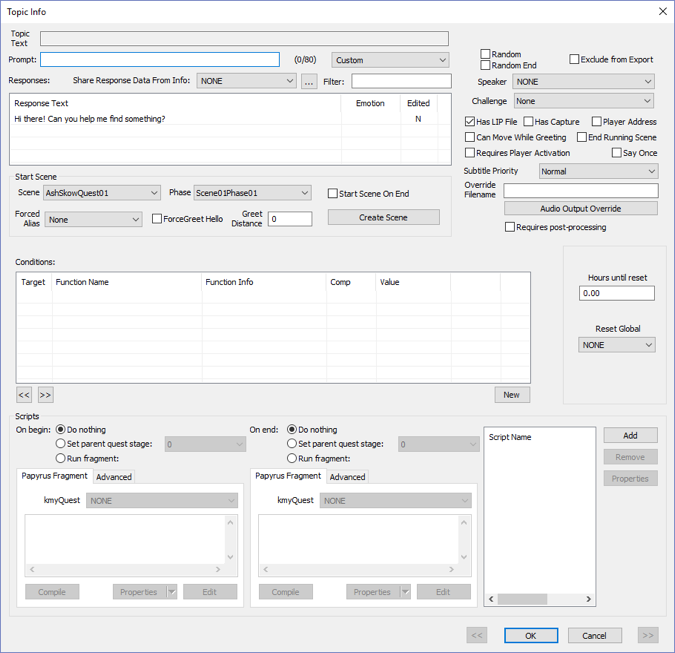
Double-Click on the Start Greeting text (Hi there! Can you help me find something?[edit | edit source]
Now things get interesting. Your typicaltypicalThe general scripting process will go something like this: 1. NPC says dialog 2. At the end of the dialog you set a parent quest stage number. This is a number you have added within the Quest Stages tab 3. Add code to update and display new objectives.
Two important things to remember are:What you want to remember is that generally: ● NPC dialog updates Quest Stage #s ● Quest Stage #s update Quest Objectives
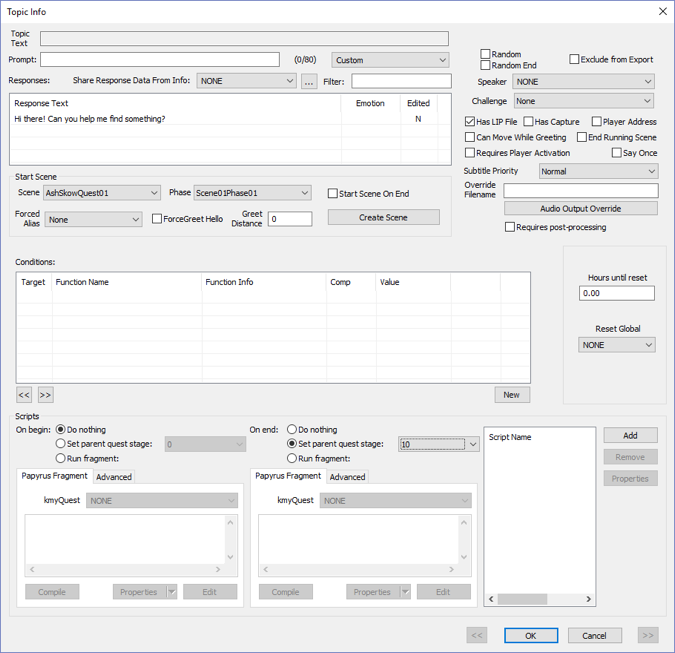
Click the Set parent quest stage radio button (near bottom middle in the Scripts section)[edit | edit source]
- Set drop-down list to the starting stage (usually 10)
Note: that the drop-down menu lists all the stage numbers you added in the Quest Stages tab.
This will make it so that after the NPC finishes her lines of dialog, the Quest State # will be set to 10.
Next, we must associate the code with Quest Stage 10
Click OK[edit | edit source]
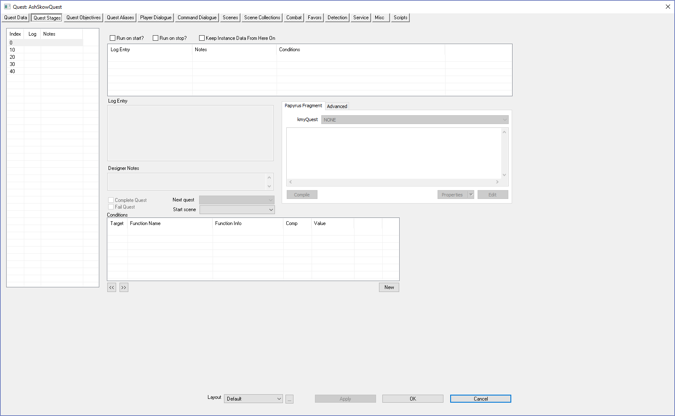
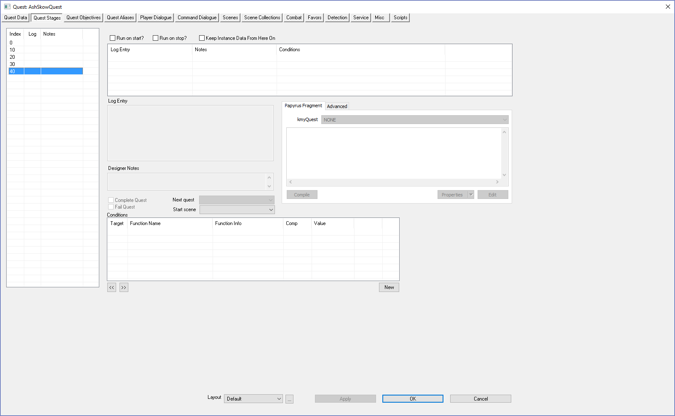
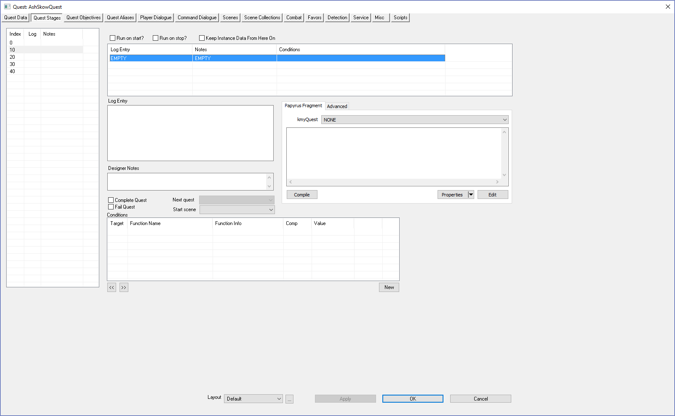
Click on the Quest Stages Tab
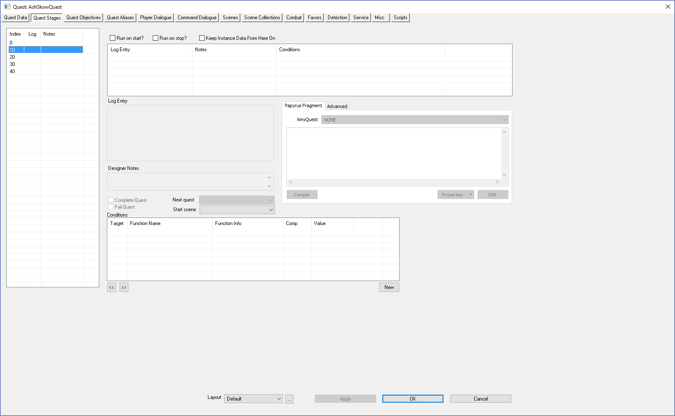
Click on the starting index (usually 10)[edit | edit source]
Right-click on Log-Entry[edit | edit source]
Keep index 0.
Index 0 means the quest has not yet been initiated.
When the game starts, you can think of your Quest as being at Index 0
Type [Enter] to keep Index 0[edit | edit source]
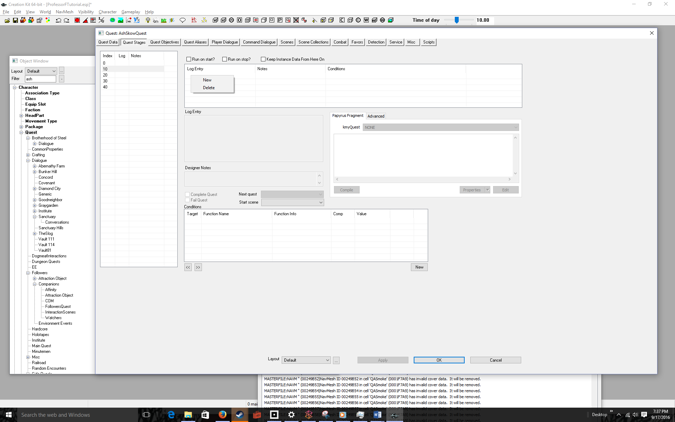
Use the right-click New procedure to Add four more indices labeled 10, 20, 30, 40.
I’ll show you how to add code to the indices later, but for now you can think of the indices as corresponding to the following events:
0: Start of game, Quest Idle
10: Meeting the NPC
20: Accepting the NPC’s Quest
30: Completed the NPC’s Quest
40: End Quest
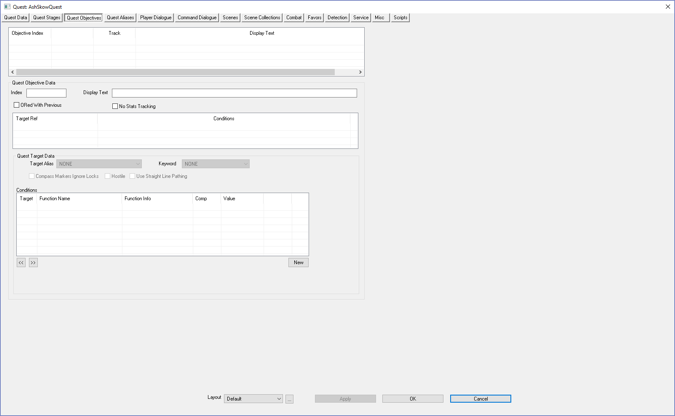
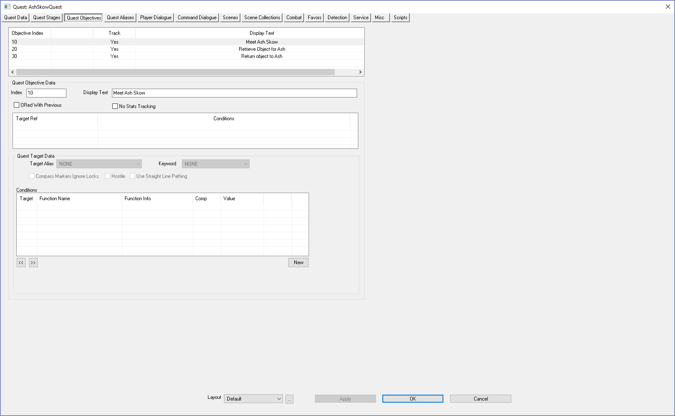
Click on the Quest Objectives Tab[edit | edit source]
This is where you set the labels the player sees as he or she progresses through the game
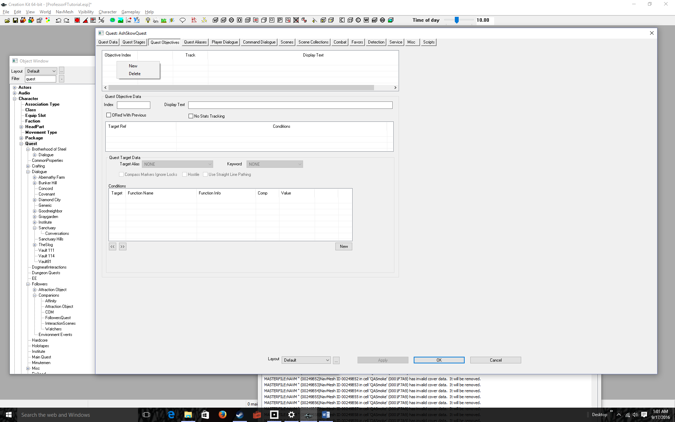
Right-click over the Objective Index[edit | edit source]
Select New[edit | edit source]
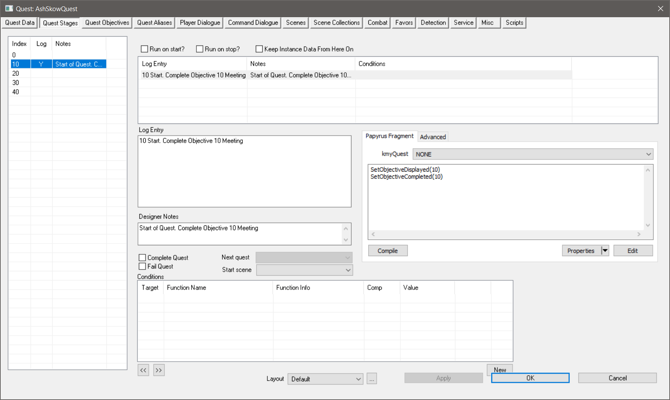
Enter information about this stage in the Log Entry[edit | edit source]
- Enter notes in the Designer Notes section
- Add Code to set Meeting Objective # to Completed
- Click the Compile Button
You’re free to enter whatever you want for the Log Entry and Designer notes. What matters is the code:
SetObjectiveDisplayed(10)
SetObjectiveCompeted(10)
If you typed this code correctly, you should get no error messages when you click Compile.
=(Optional) Click on the Quest Objectives tab= Now what did we just do? In the previous step, we added the code:
SetObjectiveDisplayed(10) SetObjectiveCompeted(10)
Objective Index 10 is associated with the Display Text: Meet Ash Skow.
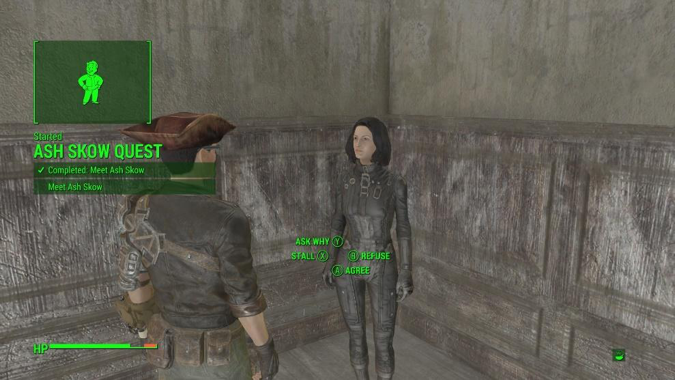
This piece of code will display the following to the player:
Meet Ash Skow
Completed: Meet Ash Skow
Note: The first time SetObjectiveDisplayed is called, it will also show the Quest Name
Click the OK button to close out the Quest dialog box[edit | edit source]
- File > Save
Minimize the GECK[edit | edit source]
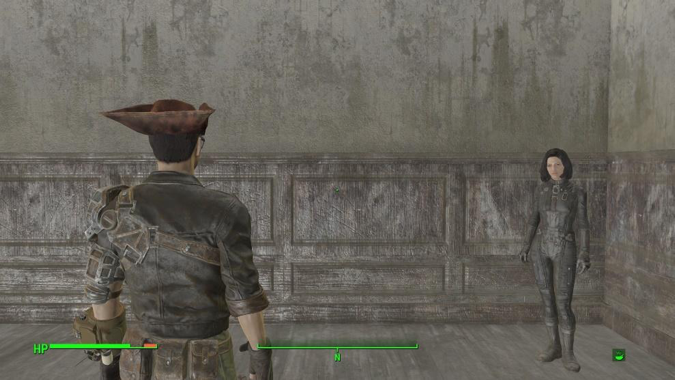
- Start Fallout 4 & goto whatever room your NPC is in, if you aren’t there already
Yes, I skipped a lot of steps, but you should know how to do this by now.
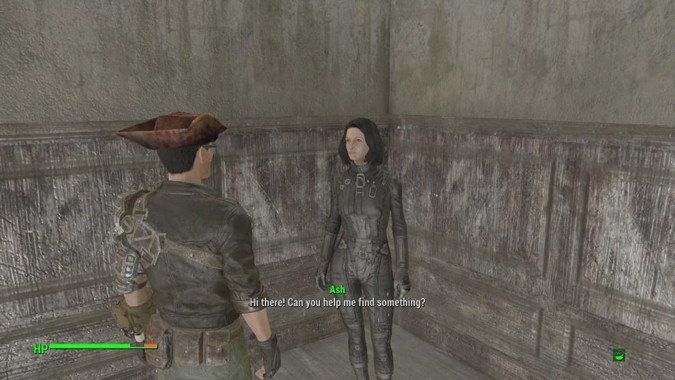
Approach the NPC[edit | edit source]
The greeting text starts.
Wait for the greeting to finish[edit | edit source]
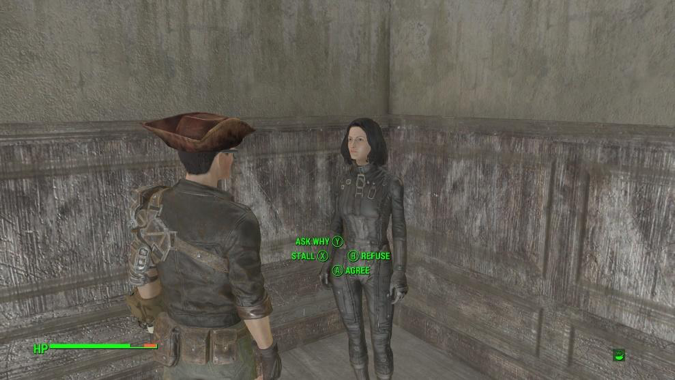
Wait for the Quest text to go away[edit | edit source]
Next, we’ll add code to go to the next objective if you agree to the Quest.
No problems so far? Getting confident? Next we’ll learn how to enable conditions for our quests, and that’s where things get a little hairy.
Just remember!
- Dialog sets Stage #s
- Stage #s execute objective displayed & completed code
Don’t forget to quit out of Fallout 4 WITHOUT SAVING OR QUICKSAVING, before going back to the GECK. You can stay in the GECK, you just have to quit out of Fallout 4 each time. If you save, then Fallout 4 remembers your Stage & Objectives (and you’ll have to into the coc to reset them)


