Fallout 4 Simple Fetch Quest Tutorial Chapter 8: Quest Setup
| Fallout 4 Simple Fetch Quest Tutorial Chapter 8: Quest Setup | |
|---|---|
| Fallout 4 Scripting Quest Tutorial Series, Chapter 8: Quest Setup | |
| Return to Tutorial Hub | |
| Next Tutorial | |
Note: This tutorial is written in Action-Reaction style — Headers are the action you have to do, and the pictures that follow depict the reaction (or result) of the Creation Kit.
Start up the GECK by running the Bethesda.Net Launcher and Open up your Mod (as in Tutorial 3)[edit | edit source]
Note: This is only if the GECK isn’t running.
Active that Object Window[edit | edit source]
Expand Character > Quest in the left index Find your quest (AshSkow) in the right window and double click to open
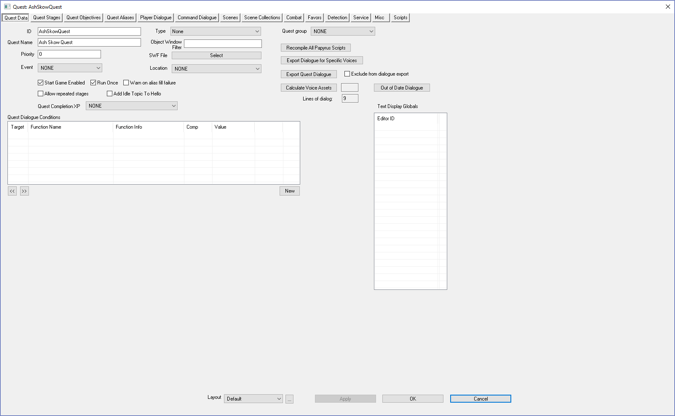
Click on the Quest Data tab[edit | edit source]
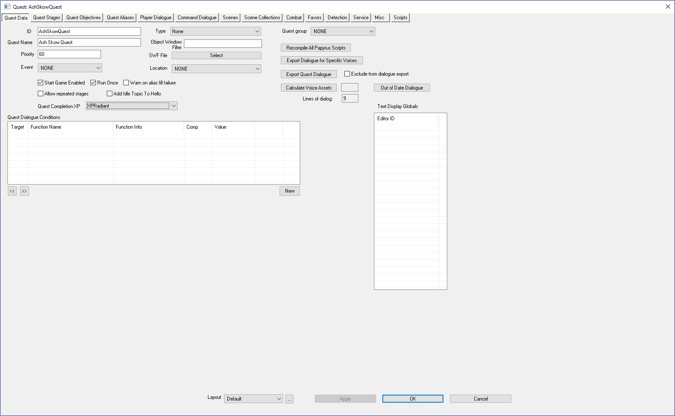
Previously we set the ID and Quest Name. The ID is used by code while the Quest Name is what shows up in Fallout when the player begins the quest. Set the Priority textbox to 60
Set the Quest Completion XP dropdown to XPRadiant[edit | edit source]
If there are competing quests that could be started at the same time, the priority determines which quest goes first.
Important! You must set Quest Completion XP the quest completed message will not display when the player completes the quest in-game. The Quest Completion Xp is how much XP the player gets for completing the Quest.
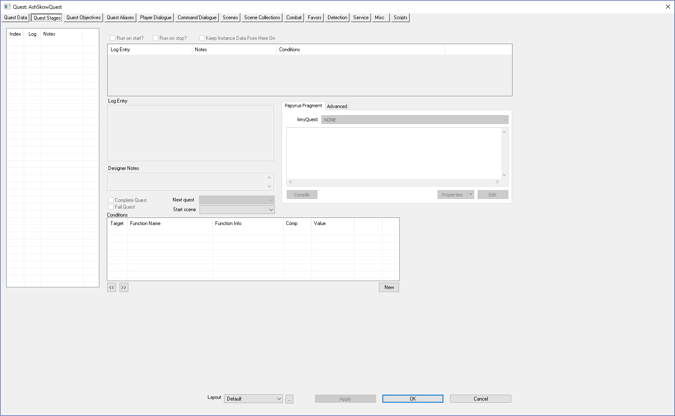
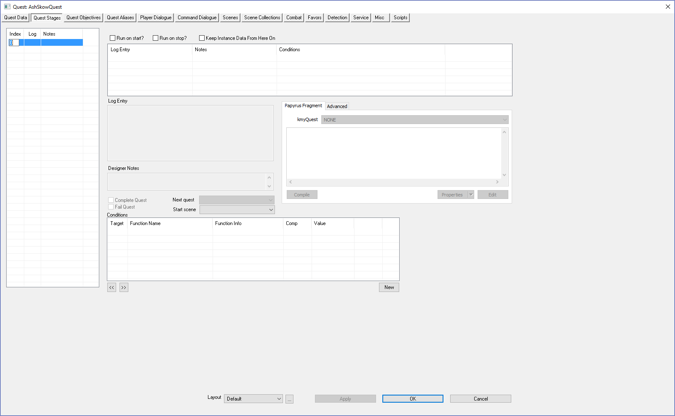
Click on the Quest Stages tab[edit | edit source]
Note: If you clicked hastily on the OK button in the previous step; the Quest window will have been saved and closed, and you will need to repoen it., that saves & closes out the Quest window and you will have to reopen. Clicking on another tab also saves your progress, but it doesn’t close the window.
Quest Stages is where you add code that controls the labels the players sees as sees when s he or she progressinges in the game.
For a simple quest you need four stages.
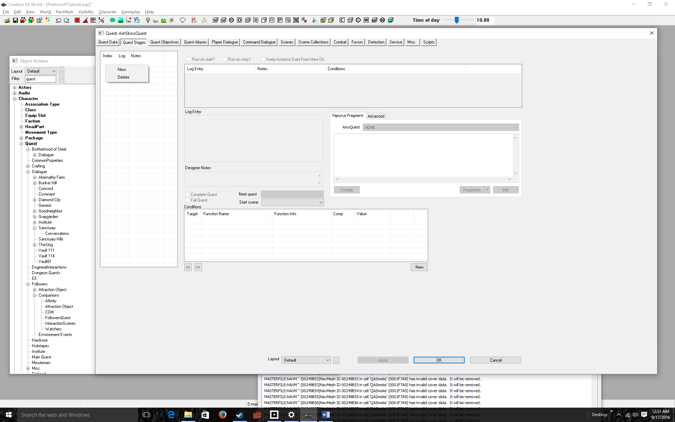
Right-Click over the Index window[edit | edit source]
Click New[edit | edit source]
Important! Keep index 0. Index 0 means the quest has not been initiated. When the game starts, you can think of your Quest as being at Index 0
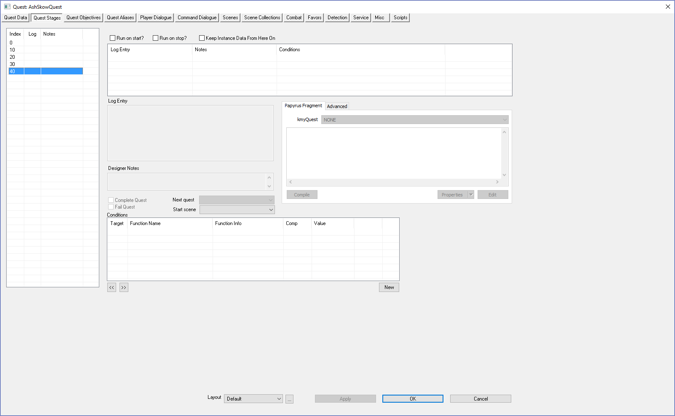
Type [Enter] to keep Index 0. Use the right-click New procedure to Add four more indices labeled 10, 20, 30, 40.[edit | edit source]
I’ll show you how to add code to the indices later, but for now you can think of the indices as corresponding to the following events: 0: Start of game, Quest Idle 10: Meeting the NPC 20: Accepting the NPC’s Quest 30: Completed the NPC’s Quest 40: End Quest
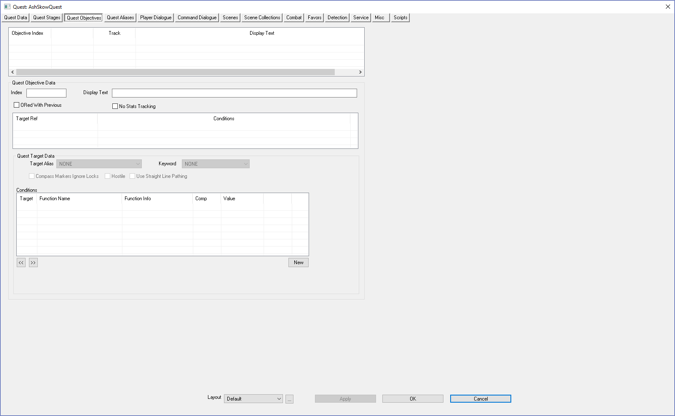
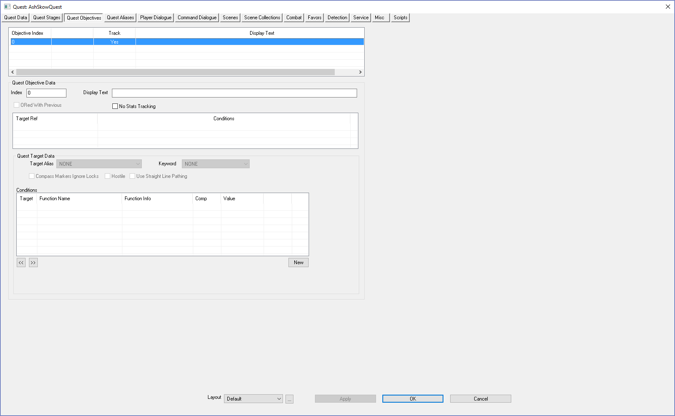
Click on the Quest Objectives Tab[edit | edit source]
This is where you set the labels the player sees as he or she progresses through the game
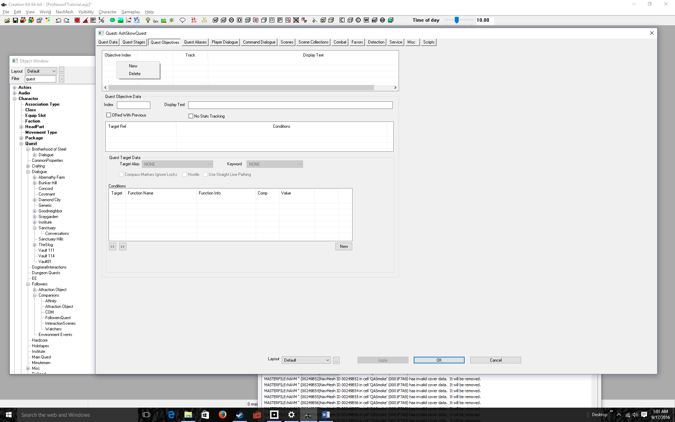
Right-click over the Objective Index[edit | edit source]
Select New[edit | edit source]
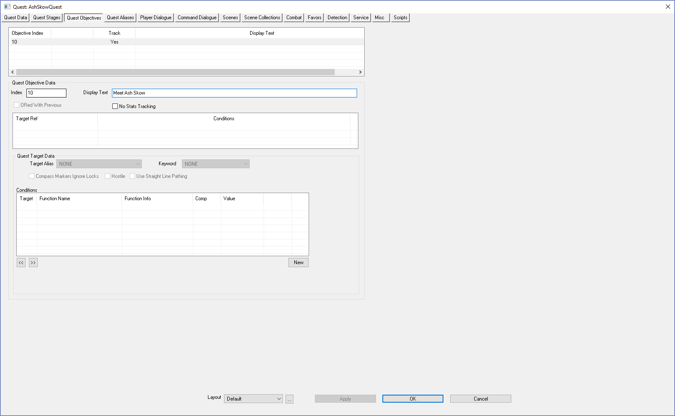
Enter an Index and a Display Text in the corresponding boxes underneath Quest Objective Data[edit | edit source]
For example: 10 and Meet Ash Skow
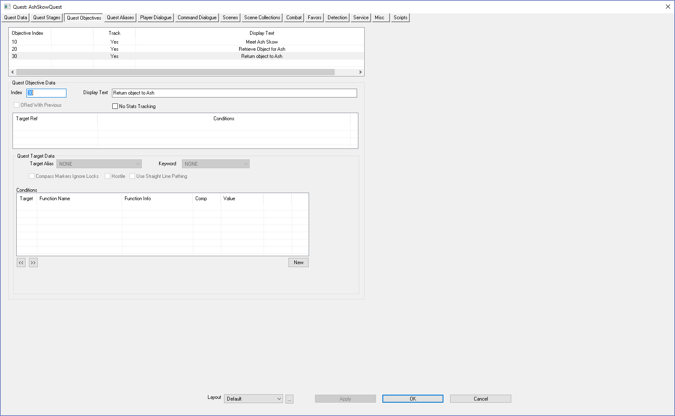
Follow this procedure and add two more objectives for retrieving the object and returning the object to the NPC[edit | edit source]
For example: 20 Retrieve object for Ash 30 Return object to Ash
That’s it for setting up the quest. Now we need to write code to link player actions to quest stages.
But first we need to add Aliases. Aliases create markers on the map that guide the player
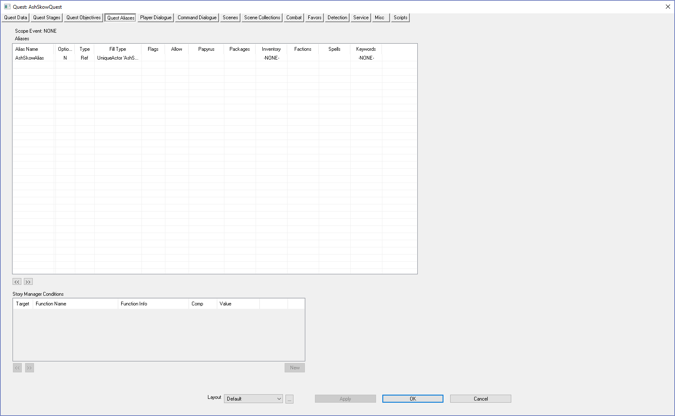
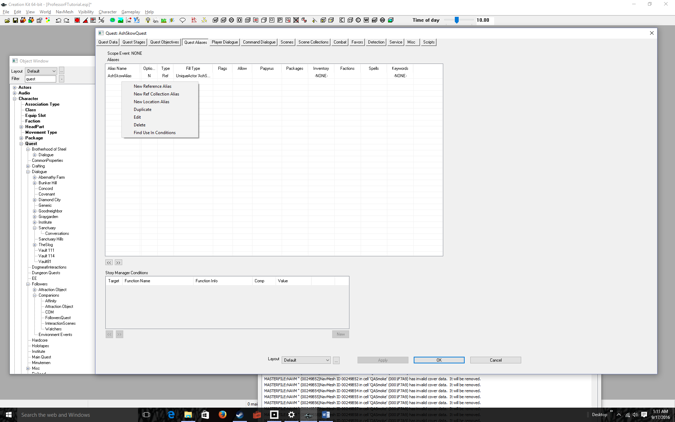
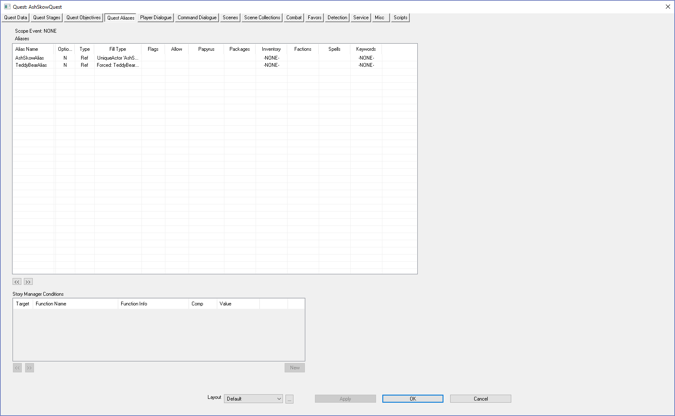
Click the Quest Aliases tab[edit | edit source]
Right-click over the Alias Name column[edit | edit source]
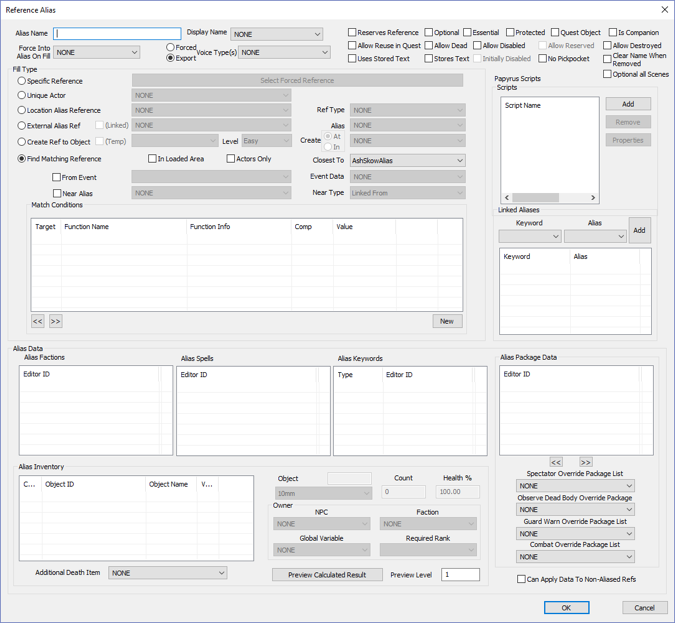
Click New Reference Alias[edit | edit source]
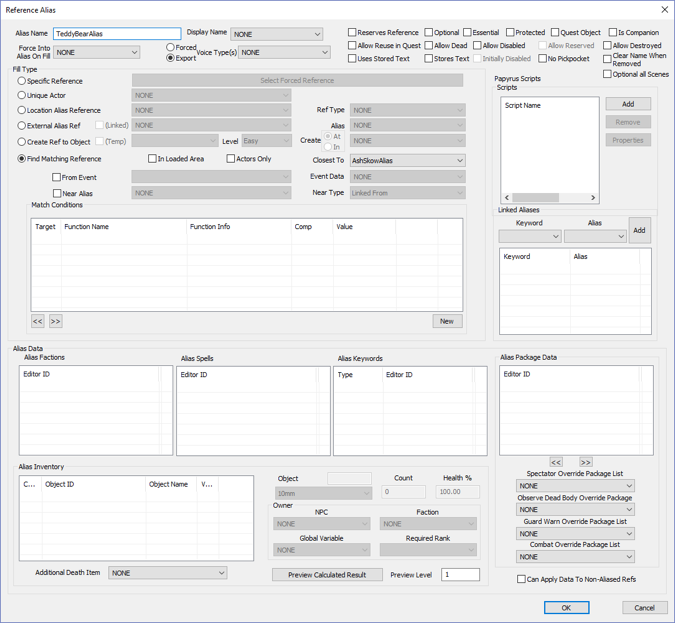
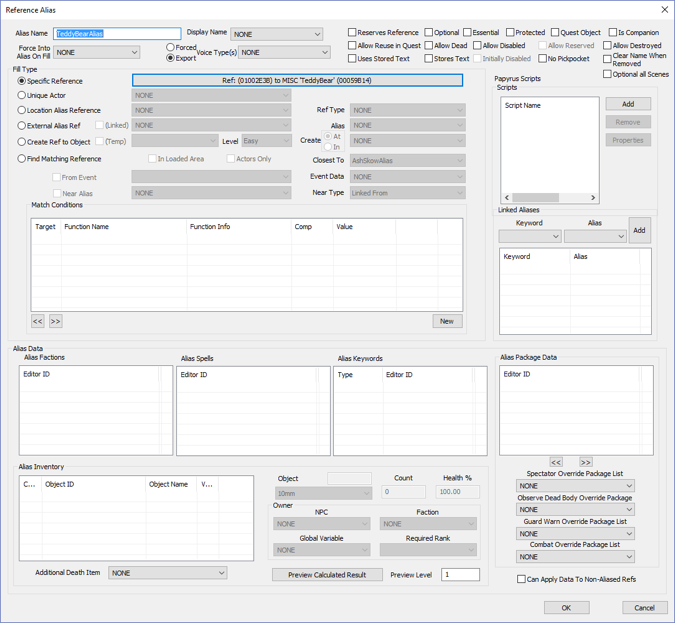
Enter a label for the Target Object into the Alias Name box[edit | edit source]
For Example: TeddyBearAlias
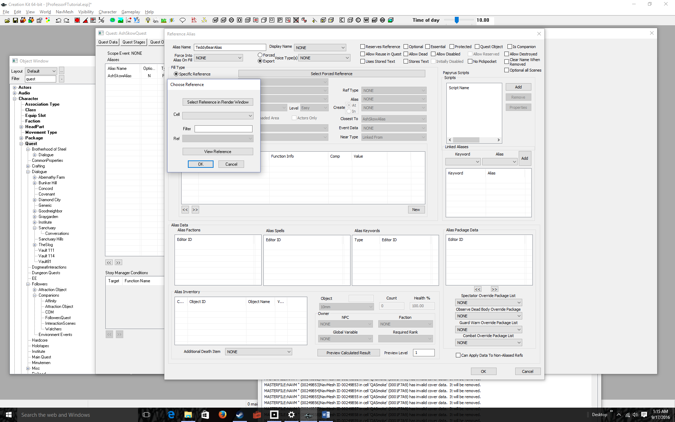
Click on the Radio Button, Specific Reference, then click on the button Select Forced Reference button[edit | edit source]
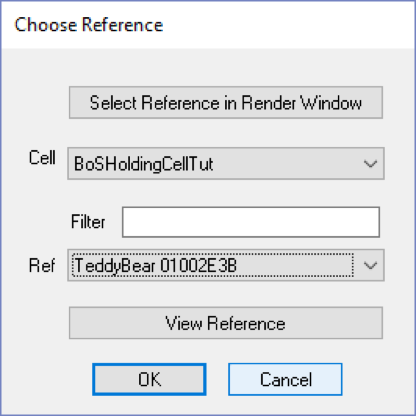
Set the Cell dropdown to your test cell. Set the Ref dropdown to your target object[edit | edit source]
Remember we are working inside the BoSHoldingCellTut, so I added that to the dropdown
TeddyBear was our target object. Iignore the numbers after the label..
Click OK[edit | edit source]
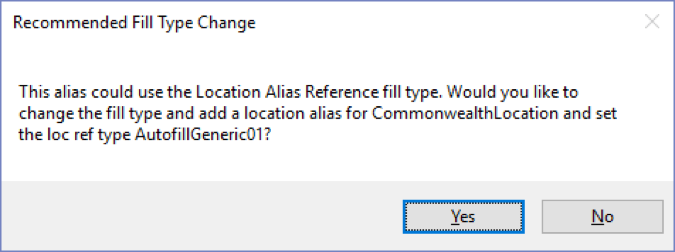
Click No[edit | edit source]
Click OK[edit | edit source]
That’s it! We’re ready to add code.


